
To replace remote batteries safely, first gather the right tools and new batteries, then power down and unplug your device. Carefully open the remote without forcing it, remove the old batteries gently, and check for corrosion. Insert the new batteries matching the correct polarity, secure the compartment tightly, and test the remote to make sure it works properly. Following these steps helps keep you safe and prolongs your device’s life—learn more about each step below.
Key Takeaways
- Turn off and unplug devices before opening remote and handling batteries to prevent electrical hazards.
- Use appropriate tools and wear protective gloves and glasses when opening the remote and removing batteries.
- Insert new batteries matching the correct polarity and avoid mixing old and new batteries to ensure safety and performance.
- Secure the battery compartment properly to prevent moisture ingress, corrosion, and connection issues.
- Dispose of batteries at authorized recycling centers, following proper handling procedures to minimize environmental impact.
Gathering the Right Tools and Supplies
Before you begin replacing the remote batteries, it’s important to gather all the necessary tools and supplies. Start by inspecting your remote’s design to understand how it opens, as different designs may require specific tools like a small screwdriver or a plastic pry tool. Check the battery compartment to see what type of batteries it needs; this helps you determine the correct replacement to maximize battery lifespan. Keep fresh batteries on hand to ensure a smooth process and avoid multiple trips. You might also want a cloth or soft cloth to clean the contacts inside the compartment. Having the right tools ready saves time and prevents accidental damage, making your battery replacement safer and more efficient. Additionally, reviewing the filter replacement indicators on your air purifier can help you understand when to perform maintenance for optimal performance.
Identifying the Correct Battery Type

Before replacing your remote batteries, you need to identify the correct type. Check the existing batteries or your remote’s manual for compatibility and specifications. Choosing the right battery guarantees your remote works properly and lasts longer. Ensuring proper battery specifications is crucial for optimal performance.
Choosing the Right Battery Type
Choosing the right battery type is essential to guarantee your remote functions properly and lasts longer. You need to take into account the battery chemistry, as it directly impacts performance and safety. Alkaline batteries are common and offer a good balance of cost and lifespan, making them suitable for most remotes. Lithium batteries, on the other hand, provide a longer battery lifespan and better performance in extreme temperatures. Rechargeable batteries can be a cost-effective and environmentally friendly option if your remote supports them. Always check your remote’s manual or battery compartment for recommended types. Using the correct battery chemistry ensures your remote operates reliably and reduces the risk of damage or leakage, ultimately extending the battery lifespan and saving you time and money in the long run. Additionally, understanding the battery technology used can help you make more informed choices for optimal performance.
Compatibility and Specifications
Ensuring compatibility and understanding the specifications of your remote’s batteries is essential for proper operation. First, check the battery chemistry, such as alkaline, lithium, or nickel-metal hydride, to match the remote’s requirements. Different chemistries offer varying performance and shelf life, so choose one recommended by the manufacturer. Next, verify compatibility standards, including size and voltage, to ensure the battery fits securely and provides the correct power. Using incompatible batteries can damage your remote or cause it to malfunction. Always consult your remote’s user manual or look for markings on the existing batteries. By paying close attention to these specifications, you’ll avoid issues and keep your remote functioning reliably. Proper matching of chemistry and standards guarantees safe, effective operation.
Powering Down Devices Before Replacing Batteries
Before replacing the batteries, make sure you turn off your device to prevent any electrical issues. It’s also important to unplug the remote or device to avoid power surges. Taking these steps helps protect your device and guarantees a safe battery replacement. Additionally, being aware of potential scams and frauds related to electronic accessories can help you make more informed and secure purchases.
Turn Off Devices
Turning off your device before replacing the batteries is a crucial step to prevent electrical damage and data loss. When you power down, you protect the device’s internal components, ensuring the battery lifespan isn’t compromised. Additionally, turning off the remote guarantees compatibility issues are avoided and prevents accidental commands during replacement. Proper chevrolet tuning practices emphasize the importance of maintenance procedures like turning off devices to ensure optimal performance and longevity.
| Step | Action | Reason |
|---|---|---|
| 1 | Turn off the device | Prevents electrical damage |
| 2 | Remove the cover | Access the batteries securely |
| 3 | Replace batteries | Maintains remote compatibility |
| 4 | Power on device again | Ensures proper operation |
Always turn off your device first; this simple step preserves functionality and extends the remote’s lifespan.
Unplug Before Replacing
Unplugging your device before replacing the batteries is essential to prevent electrical shocks and protect its internal components. When you disconnect the device, you avoid any risk of short circuits or damage during battery replacement. This step also helps preserve your remote’s battery lifespan by preventing accidental power surges. Additionally, turning off and unplugging the device ensures the remote control range stays ideal, as interference caused by residual power is minimized. Always remove batteries carefully and avoid forcing them out. Taking this simple safety measure keeps both you and your device safe, prolongs the remote’s functionality, and maintains consistent performance. Being aware of toilet maintenance and repairs can also prevent unexpected issues that might arise if the remote controls connected bathroom devices. Remember, a quick unplugged step now saves you from potential repairs or replacements later.
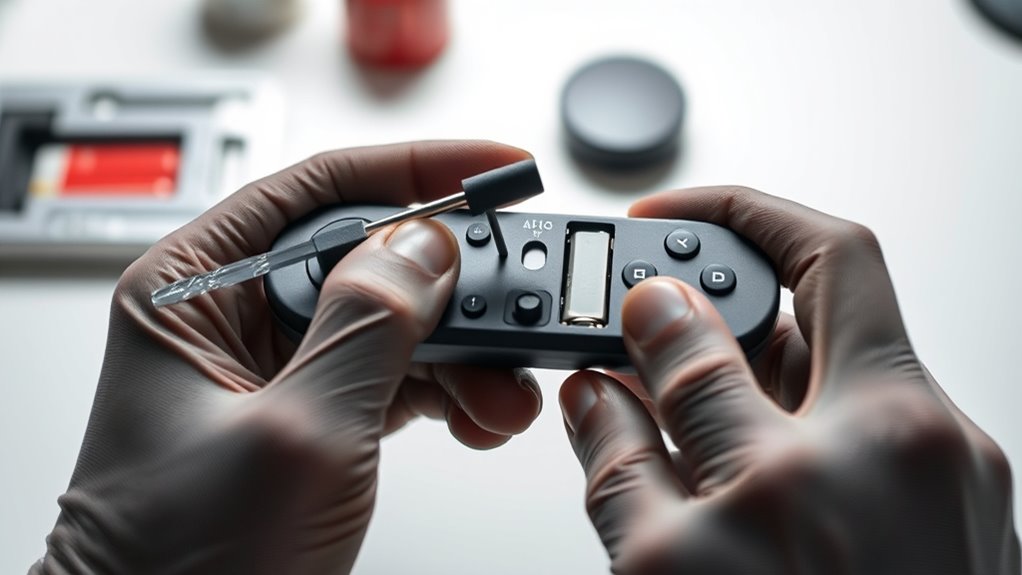
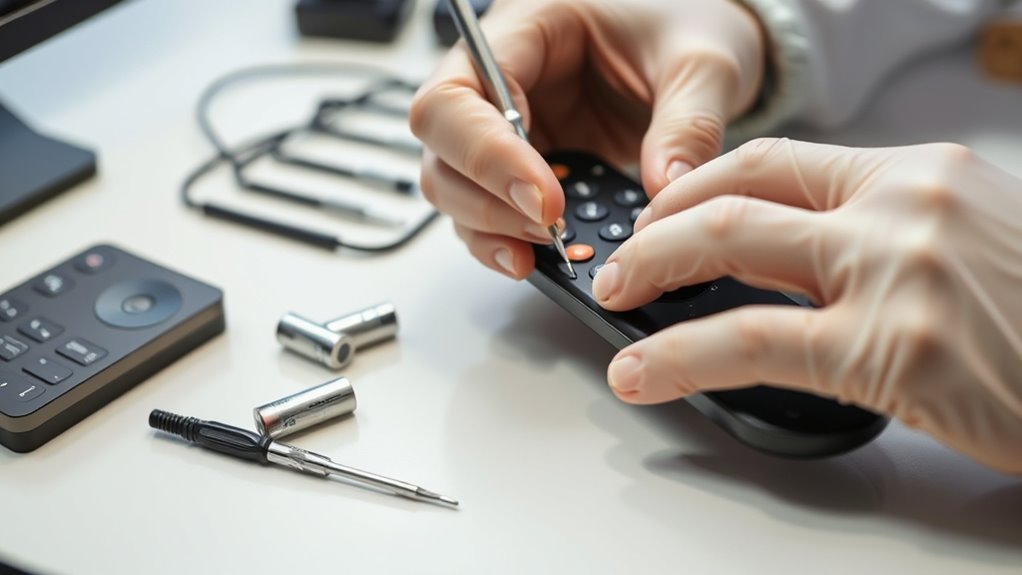
Opening the Remote Properly and Safely
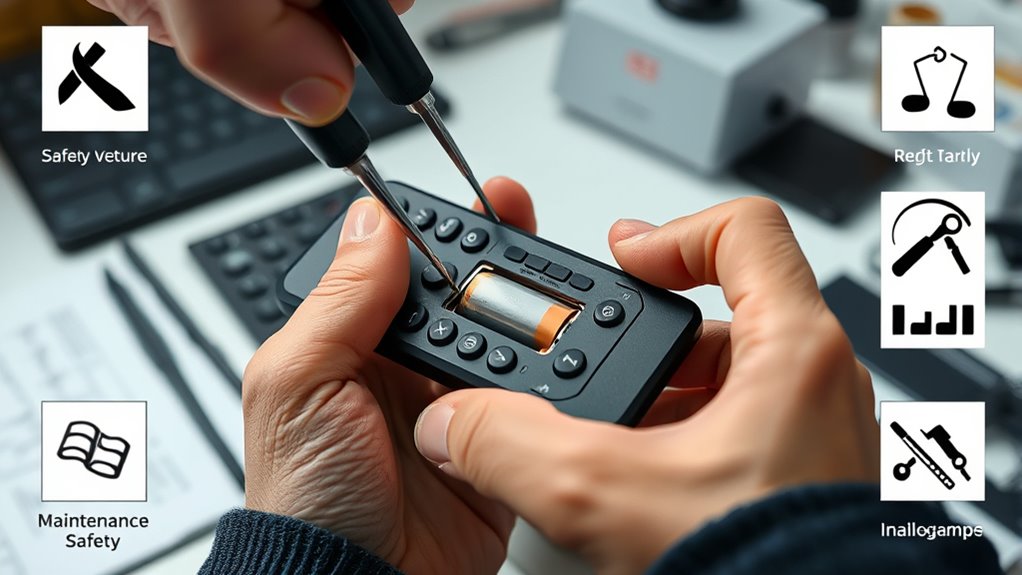
To open your remote safely and without causing damage, start by gathering the necessary tools, such as a small screwdriver or a plastic pry tool. Using proper remote opening techniques is vital to avoid breaking the casing or damaging internal components. Make sure you work on a clean, flat surface to prevent losing small parts. When opening, gently insert the plastic pry tool along the seam, applying even pressure to release clips without forcing them. Keep an eye on the remote casing tools you use, ensuring they are appropriate for your remote’s design. Remember, patience is key—quick or forceful actions can cause cracks or internal damage. With the right tools and careful handling, you’ll open your remote safely and prepare it for battery replacement. Additionally, understanding the material composition of your remote can help prevent accidental damage during opening.
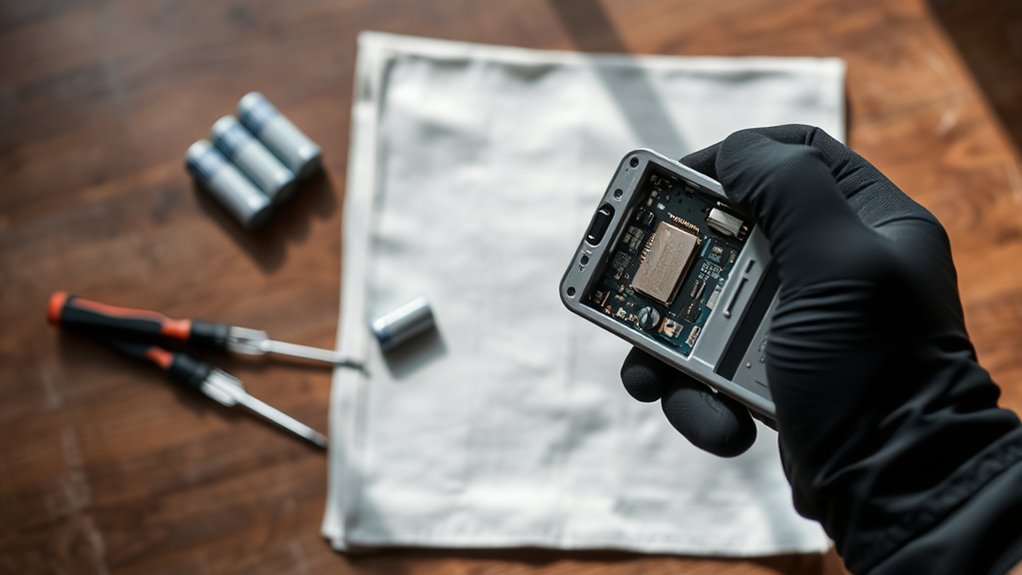
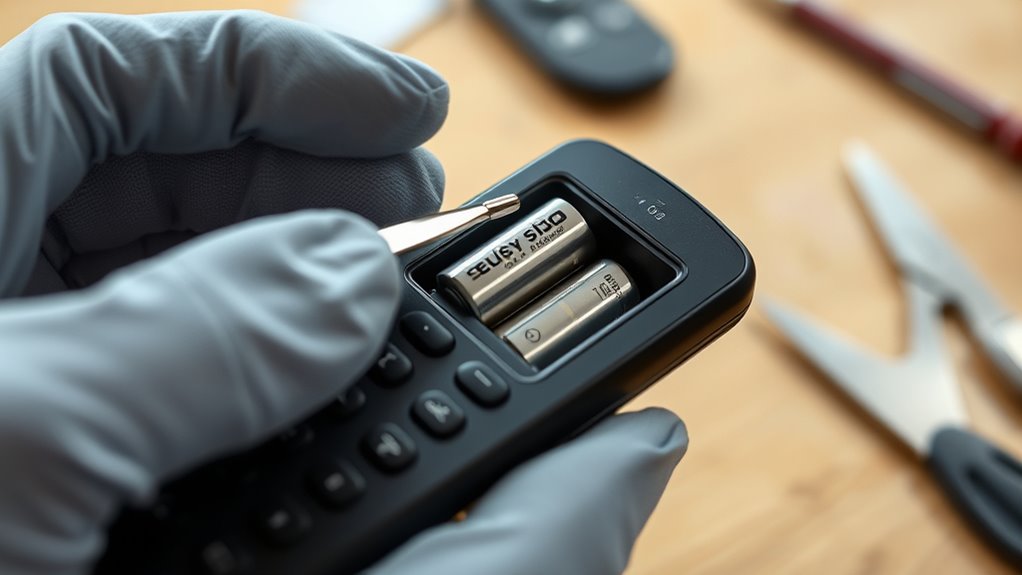
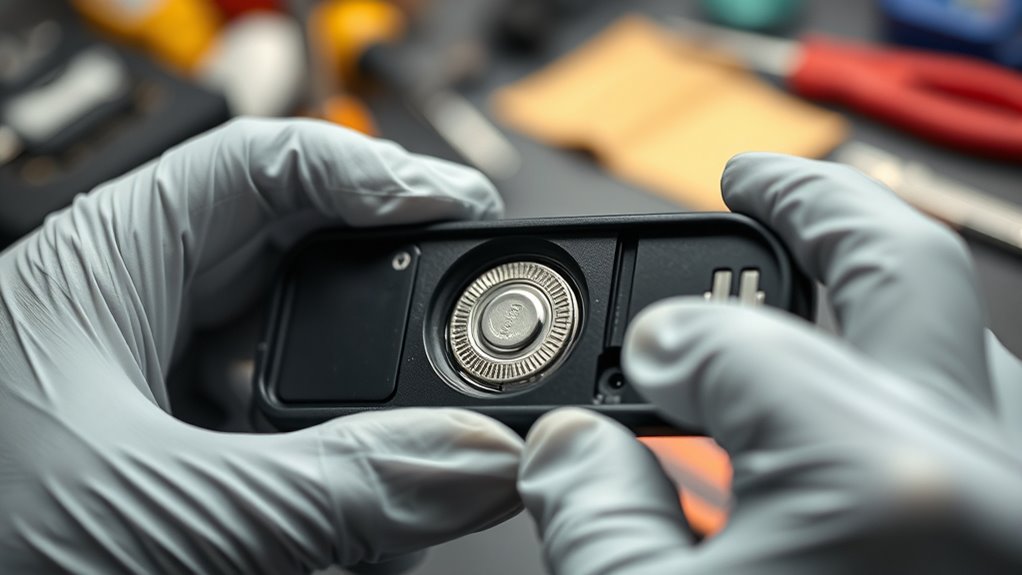
Removing Old Batteries Carefully
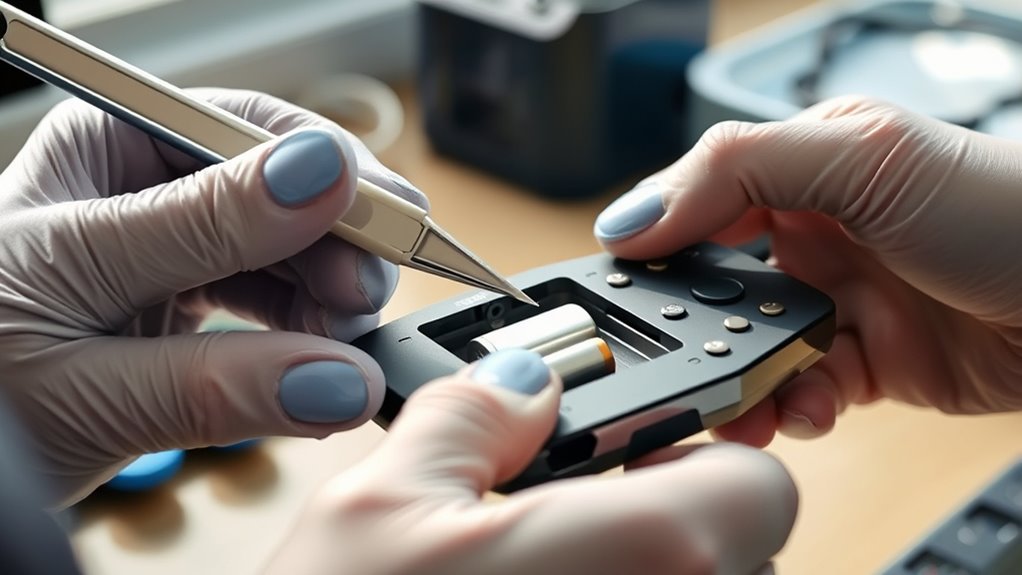
When removing the old batteries, proceed carefully to avoid damaging the remote or causing a short circuit. If you notice signs of battery corrosion, such as leaks or white residue, handle the batteries with extra caution. Corrosion can damage the remote’s contacts and shorten its battery lifespan if not addressed promptly. Use gloves or a cloth to avoid direct contact with corrosive material. Gently lift the batteries out, avoiding any force that could bend or break the remote’s compartment. If the batteries are stuck, try tilting or rocking them slightly instead of forcing them out. Proper removal guarantees you won’t unintentionally damage the remote or compromise future battery performance. Taking your time now helps extend your remote’s overall lifespan. Incorporating mindset principles such as patience and careful attention can make the process smoother and more effective.
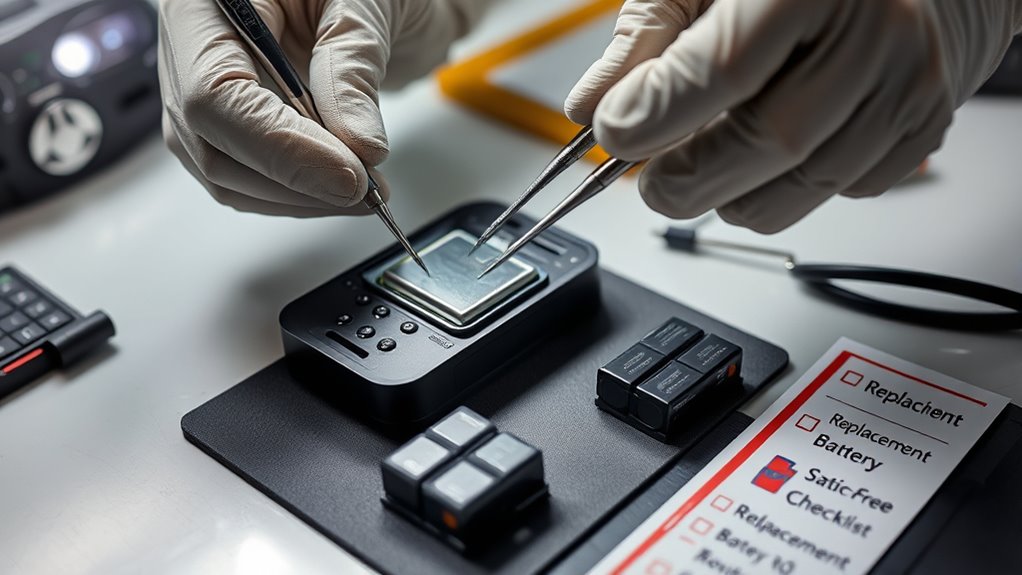
Handling Batteries Safely to Prevent Damage or Injury
When handling batteries, always wear protective gloves and eye protection to avoid leaks or accidental sparks. Make sure you dispose of old batteries properly at designated recycling centers, not in regular trash. Taking these precautions helps prevent injuries and environmental harm. Additionally, be sure to monitor the condition of your batteries regularly to detect any signs of corrosion or damage before they become hazardous.
Wear Protective Gear
Wearing protective gear is essential when handling remote batteries to prevent injuries and damage. Proper protective gear guarantees electrical safety and shields you from potential leaks or sparks. Always wear gloves to avoid direct contact with battery acid or corrosive materials. Safety glasses protect your eyes from accidental splashes or debris. Additionally, don’t forget to wear insulated gloves if you’re working with batteries that may have residual charge. This equipment helps prevent electrical shocks and minimizes injury risks. Remember, even small batteries can cause harm if mishandled. Prioritize your safety by always using the right protective gear before starting the replacement process. Using the correct safety equipment not only protects you but also keeps the remote and batteries in good condition. Being cautious not only protects you but also keeps the remote and batteries in good condition. Your safety is worth every precaution.
Proper Disposal Methods
To prevent damage or injury, it’s essential to handle remote batteries with proper disposal methods. Always dispose of batteries at designated recycling centers to ensure safe battery recycling. Never throw batteries in the trash, as they are considered hazardous waste and can leak harmful chemicals. Handling batteries carefully reduces the risk of short circuits or leaks.
| Step | Action | Why it Matters |
|---|---|---|
| Remove carefully | Use protective gloves | Avoid chemical exposure |
| Store safely | Keep in non-metallic containers | Prevent leaks and fires |
| Recycle properly | Use authorized recycling centers | Minimize environmental hazards |
Proper disposal protects you and the environment from potential hazards associated with hazardous waste.
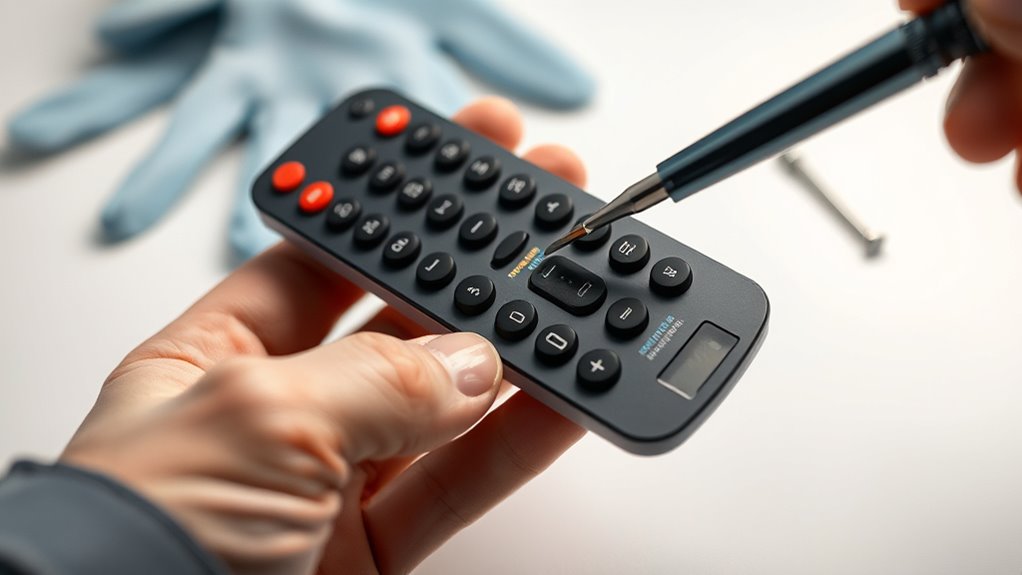
Installing New Batteries Correctly
Before inserting new batteries into your remote, make certain the device is turned off to prevent any electrical issues. Proper installation guarantees maximum battery lifespan and maintains remote compatibility. To do this correctly:
Always turn off your remote before installing new batteries to ensure safety and proper function.
- Match the polarity signs (+ and -) on the batteries with those in the compartment.
- Avoid mixing old and new batteries, as it can reduce performance.
- Check that batteries sit snugly without forcing them into place.
Taking these steps helps your remote work efficiently and extends the battery life. Incorrect installation can lead to poor connectivity or device damage. Always verify the orientation and ensure batteries are properly seated. Correctly installed batteries reduce the risk of leaks or corrosion, keeping your remote functioning safely and reliably.
Securing the Battery Compartment Properly
After installing the new batteries, make sure the battery compartment is securely closed. A tight seal prevents exposure to moisture, which can cause battery corrosion over time and damage your remote. Check that the cover snaps or screws into place firmly to maintain remote compatibility and guarantee ideal operation. An improperly secured compartment can lead to loose connections, resulting in intermittent functionality or total failure. Additionally, a secure closure minimizes the risk of the batteries falling out during use. Always double-check that no debris or dirt is trapped around the compartment edges, as this can compromise the seal. Properly securing the battery compartment extends the lifespan of your batteries and your remote, saving you from unnecessary replacements and repairs later on.
Testing the Remote After Battery Replacement
Once you’ve secured the battery compartment, it’s important to test the remote to verify it works properly. This step helps with remote troubleshooting and guarantees the new batteries are functioning correctly. Start by pressing the power button or other controls to see if the device responds. If it doesn’t, double-check the battery placement and contact points. Keep in mind that good contact can extend the battery lifespan and prevent future issues.
- Confirm the remote’s response by pressing various buttons
- Observe if the indicator light (if available) lights up
- Test at different distances and angles for consistent operation
Performing this quick check saves you time and avoids replacing batteries unnecessarily. Proper testing ensures your remote stays reliable and extends its overall lifespan.
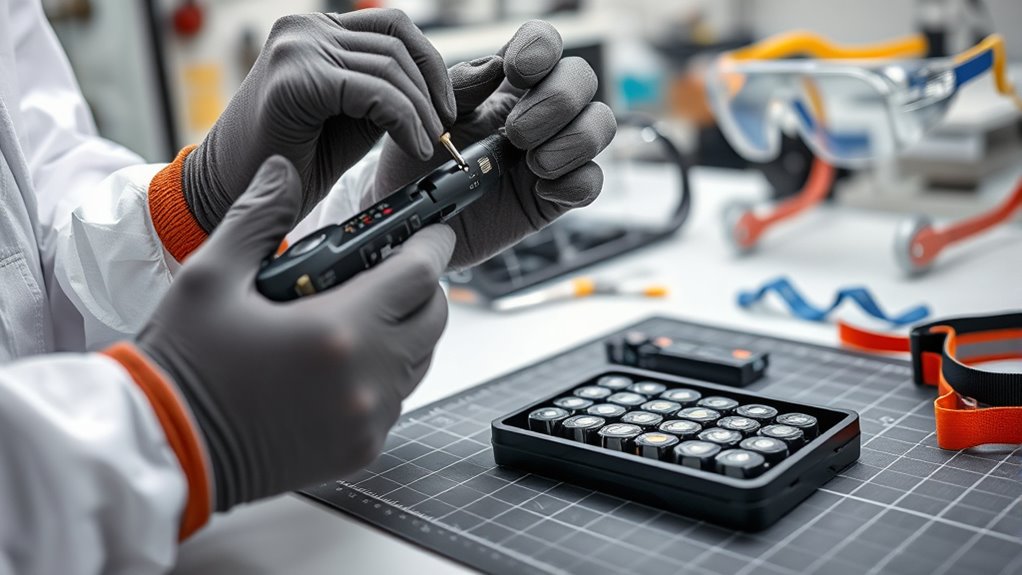
Storing Batteries Safely for Future Use
Storing batteries properly guarantees they remain in good condition and ready for future use. Correct battery storage prevents leaks, corrosion, and capacity loss, ensuring safe remote maintenance later. Store batteries in a cool, dry place away from metal objects to avoid short circuits. Keep them upright and separated to prevent accidental contact. Use a dedicated container or bag for organization.
| Storage Tip | Why It Matters | Best Practice |
|---|---|---|
| Keep in a cool spot | Prevent overheating | Store at room temperature |
| Avoid metal contact | Prevent short circuits | Use non-metallic containers |
| Keep away from sunlight | Avoid degradation | Store in a shaded area |
Proper battery storage prolongs lifespan and ensures safety during future remote maintenance tasks.
Frequently Asked Questions
How Often Should I Replace Remote Batteries for Optimal Performance?
You should replace your remote batteries every 6 to 12 months for peak performance, depending on usage. Keep an eye on the remote’s battery lifespan, as weaker signals or difficulty in operating might indicate it’s time for a replacement. Regularly check for signs of low power, and don’t wait until the remote stops working completely. Maintaining an appropriate replacement frequency ensures your remote stays reliable and functions smoothly.
Can Using Incorrect Batteries Damage My Remote or Device?
Using incorrect batteries can damage your remote or device. If you don’t match the right battery compatibility, it might cause electrical issues or leaks that harm internal components. Always check your device’s compatibility guidelines before replacing batteries. Sticking to recommended types ensures safe operation and prevents potential damage. Avoid using generic or incompatible batteries to maintain your device’s longevity and guarantee peak performance.
What Should I Do if the Remote Still Doesn’T Work After Replacing Batteries?
If your remote still doesn’t work after replacing the batteries, try remote troubleshooting by cleaning the contacts and verifying the batteries are inserted correctly. Check the battery lifespan to confirm they aren’t depleted. If it still doesn’t respond, test it with new batteries or another remote to identify if the issue lies with the device. Sometimes, signals can be blocked, so ensure nothing interferes with the remote’s operation.
Are Rechargeable Batteries Suitable for Remote Controls?
Rechargeable batteries can work in remote controls, but you should consider their battery chemistry, like nickel-metal hydride (NiMH), and their charging cycles. These batteries are eco-friendly and cost-effective over time, but they may have slightly lower voltage and capacity. Keep in mind, they require regular charging, which adds a bit of inconvenience. If you choose rechargeable batteries, make certain your remote is compatible and follow proper charging procedures to maximize lifespan.
How Do I Dispose of Old Batteries Responsibly and Safely?
You should never throw old batteries in the trash, as they contain hazardous waste. Instead, participate in local battery recycling programs to dispose of them safely and responsibly. Many communities have designated drop-off sites or special collection events for hazardous waste, including batteries. Proper disposal prevents environmental contamination and protects public health. Always follow local regulations and guidelines to ensure you’re recycling batteries properly and safely.
Conclusion
Now you’re ready to confidently conquer remote replacements! With careful caution, cleanly conducted steps, and a commitment to safety, you can confidently combat common complications. Keep your kit, knowledge, and batteries well-organized for next time. Remember, proper preparation prevents problems, so stay safe, stay smart, and smoothly switch those batteries. Your remote is ready to work wonders—worry-free and well-wielded!