
Before you start replacing remote batteries, understand the common battery types and sizes like AAA, AA, or button cells, and make sure they match your remote’s specifications. Gather tools such as screwdrivers or prying tools, and always check the polarity to avoid damage. Also, learn how to identify signs of battery drain and dispose of old batteries properly. Following a clear checklist helps guarantee a safe, effective swap—keep going to learn more about each step and best practices.
Key Takeaways
- Identify the correct battery type, size, and chemistry compatible with your remote.
- Gather necessary tools like screwdrivers, prying tools, and cleaning materials.
- Check the remote’s performance issues to confirm battery drain before replacing.
- Observe proper battery polarity and dispose of old batteries responsibly at recycling centers.
- Follow a step-by-step process: turn off remote, open compartment, replace batteries, and secure cover.
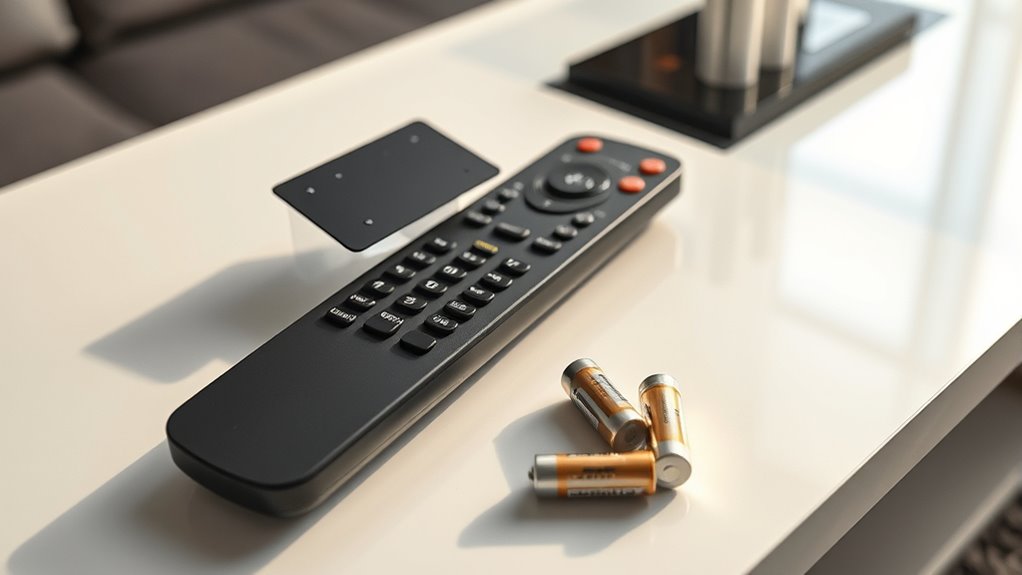
Common Battery Types and Sizes
When replacing remote batteries, it’s important to know the common types and sizes you’ll encounter. Most remotes use alkaline batteries, which are reliable and widely available, but lithium and NiMH rechargeable batteries are also common. Battery chemistry affects performance and lifespan, so choose the right type for your remote’s needs. Size compatibility is vital; the most typical sizes include AAA, AA, 9V, and button cell batteries like CR2032 or LR44. Always check your device’s specifications or existing batteries to guarantee you get the correct size. Using the wrong size or incompatible chemistry can lead to poor performance or damage. Familiarizing yourself with these common types and sizes helps make replacing your remote batteries quick, easy, and effective. Additionally, understanding battery life expectations can help you plan replacements more efficiently.
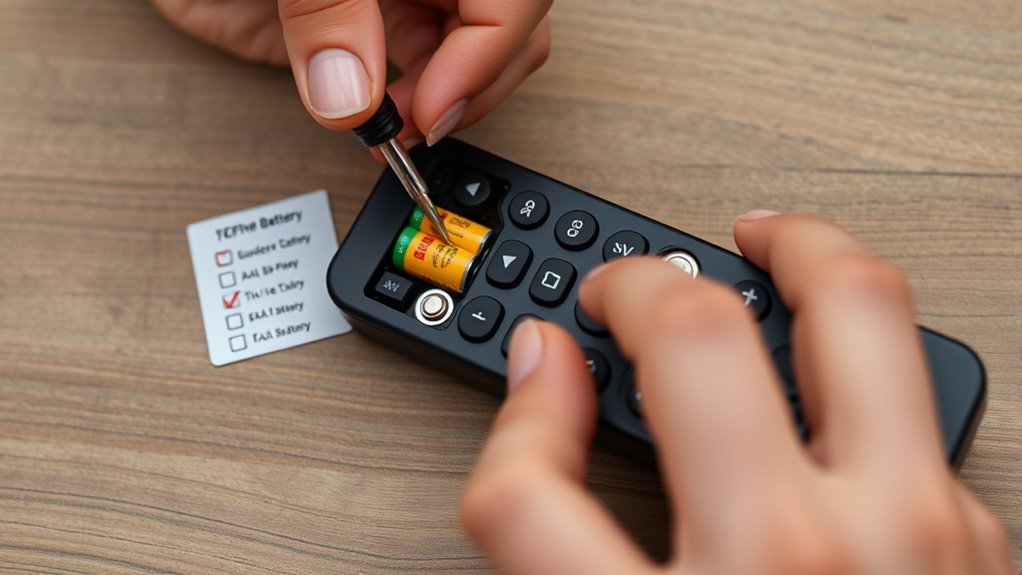
Tools Needed for Battery Replacement

To replace remote batteries efficiently, you’ll need a few basic tools to access and handle the batteries safely. These tools help with remote control maintenance and battery lifespan optimization. First, a small Phillips or flat-head screwdriver is essential for opening battery compartments. Second, a plastic prying tool or guitar pick helps gently lift covers without damage. Third, a pair of tweezers keeps battery handling precise and clean. Fourth, having a soft cloth or tissue is useful for wiping away dirt or corrosion. Using these tools guarantees you avoid damaging your remote and can replace batteries quickly. Proper tool selection makes the process smoother, prolongs the device’s life, and keeps your remote functioning reliably. Additionally, understanding the importance of battery compatibility ensures you select the correct type and size for optimal performance.
Understanding Battery Polarity
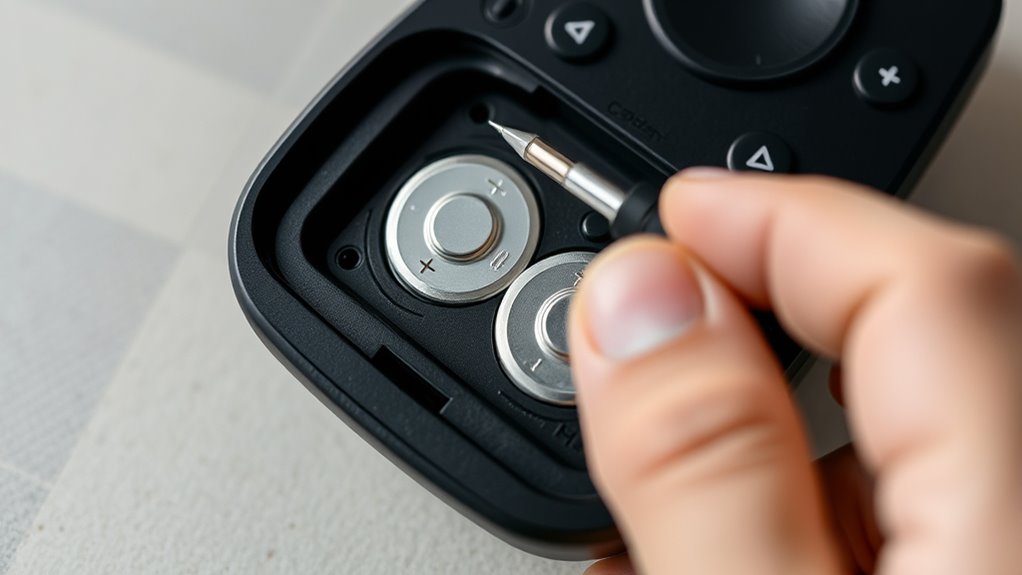
Before inserting a new battery, make certain you position it correctly. Check for the plus (+) and minus (–) symbols on both the battery and the compartment. Proper orientation ensures your remote works properly and avoids damage. Ensuring the correct battery polarity prevents malfunction and prolongs device life.
Correct Battery Orientation
Understanding battery polarity is essential for replacing remote batteries correctly. Proper battery orientation ensures your remote functions without damage. To achieve correct polarity alignment, follow these steps:
- Look for the + and – symbols inside the battery compartment and on the battery itself.
- Match the + side of the battery with the + symbol in the compartment.
- Insert the – side so it lines up with the – symbol.
- Double-check that the battery sits snugly, with no movement, ensuring proper polarity alignment.
- Remember that proper mindfulness during this process can prevent accidental damage and ensure smooth device operation.
Always pay attention to these indicators, as reversing the battery can cause malfunction or damage. Correct battery orientation is simple but vital for your remote’s performance and longevity. Taking a moment to verify polarity alignment prevents issues and keeps your device working smoothly.
Recognizing Polarity Symbols
Recognizing polarity symbols is a essential step in replacing your remote batteries correctly. These symbols indicate the correct orientation for inserting batteries, preventing damage or malfunction. Look for the plus (+) sign to identify the positive end and the minus (–) sign for the negative end. Many batteries and battery compartments have these symbols stamped or printed nearby, guiding you on proper placement. Ensuring you align the positive and negative terminals properly avoids potential issues like poor connectivity or damage to your device. Double-checking the polarity symbols before inserting new batteries helps maintain the remote’s functionality and prolongs its lifespan. Paying attention to these symbols is a simple but fundamental step in the battery replacement process. Additionally, understanding the importance of proper battery handling can help prevent leaks and ensure safety during replacement.
Identifying Signs of Battery Drain
If your remote starts acting sluggish or stops responding unexpectedly, it’s likely a sign that the batteries are running low. You’ll notice a decrease in battery life and increased power consumption, which impacts performance. To identify battery drain, look out for these signs:
- Remote responds slowly or intermittently.
- The indicator light flickers or doesn’t light up.
- Buttons require extra pressure to work.
- The remote stops working even with new batteries installed.
- Recognizing these signs early can help prevent device failure and ensure your remote functions smoothly.
These signs show the batteries can’t supply consistent power, affecting device responsiveness. Recognizing these indicators early helps you avoid frustration and ensures your remote functions smoothly. Replacing batteries at the right time prevents performance issues caused by declining battery life and excessive power consumption.
Proper Disposal of Old Batteries
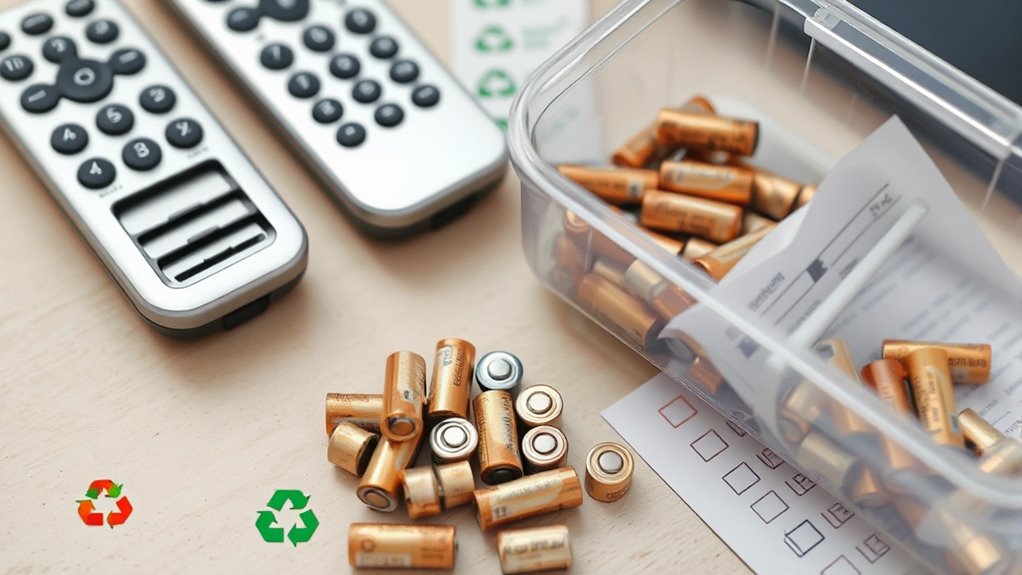
You should be aware that improperly disposing of batteries can harm the environment. Check your local regulations to guarantee you’re following the right procedures, as rules vary by area. Recycling centers are available to safely handle old batteries, helping you reduce environmental impact. Additionally, proper disposal of batteries can prevent chemical leakage that might compromise payment data security.
Environmental Impact of Batteries
Proper disposal of old remote batteries is essential because if they are thrown away improperly, hazardous materials can leach into the environment. When you recycle batteries, you prevent harmful chemicals from contaminating soil and water, supporting environmental benefits. To minimize your impact: 1. Always find a nearby battery recycling center. 2. Avoid tossing batteries in regular trash. 3. Educate others about proper disposal methods. 4. Support companies that prioritize eco-friendly practices. Additionally, understanding the environmental impact of batteries emphasizes the importance of following proper disposal procedures to protect natural resources.
Local Disposal Regulations
Understanding and following local disposal regulations is essential when getting rid of old remote batteries. Many areas have specific rules for local disposal to ensure safety and environmental protection. Check your community’s recycling regulations to see if you can drop off batteries at designated collection points or recycling centers. Some regions may prohibit throwing batteries in regular trash due to potential hazards. Proper disposal helps prevent harmful chemicals from leaking into the environment and reduces fire risks. Always read the instructions on your batteries and adhere to local disposal guidelines. If unsure, consult your local waste management authority. Being aware of Gold IRA Rollovers can provide insights into how proper investment practices contribute to financial security, even in matters like battery disposal. By following these regulations, you contribute to a safer, cleaner environment and ensure compliance with legal requirements.
Recycling Centers and Options
Many communities offer designated recycling centers where you can safely dispose of old remote batteries. Proper disposal through battery recycling helps prevent environmental harm and promotes eco-friendly disposal. Here are four ways to ensure you’re doing it right:
- Find local recycling centers: Check your city’s website or call waste management to locate nearby facilities.
- Use designated drop-off points: Many electronics stores or community centers accept batteries for recycling.
- Store batteries safely: Keep old batteries in a cool, dry place until you can drop them off.
- Follow packaging instructions: Some centers require batteries to be sealed or taped to prevent leaks. Additionally, understanding the importance of recycling centers can help you make more environmentally responsible choices.
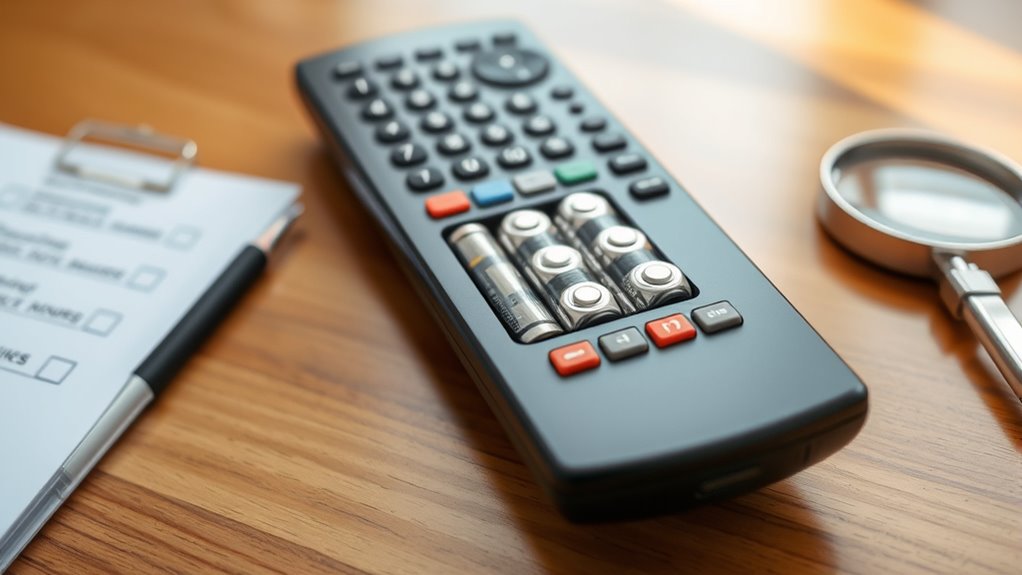
Step-by-Step Replacement Checklist
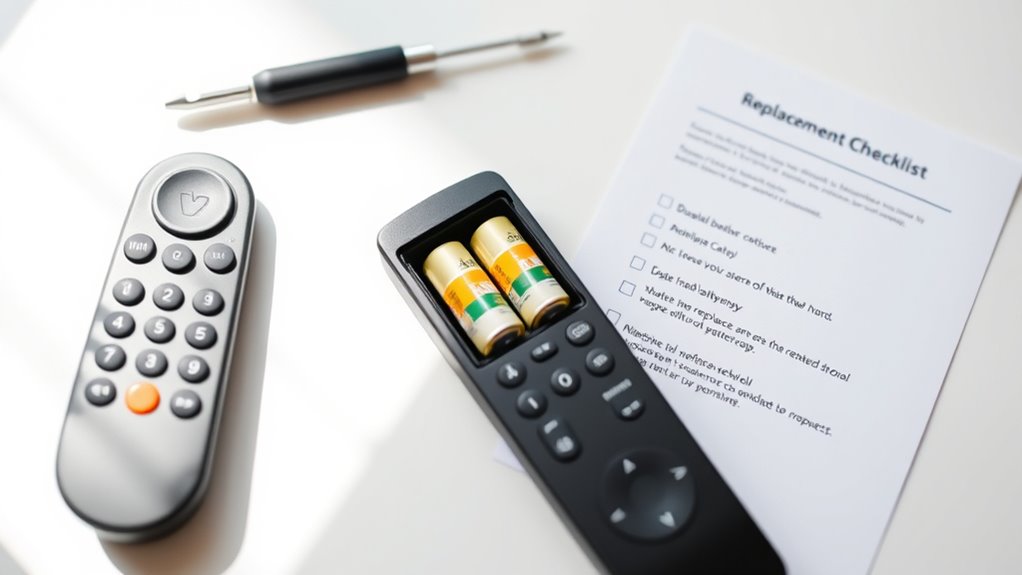
To successfully replace your remote batteries, start by gathering all the necessary supplies, including the correct replacement batteries, a small screwdriver if needed, and a clean, flat surface. Begin by turning off the remote and locating the battery compartment, usually on the back. Carefully open it, taking note of how the batteries are positioned. Remove the old batteries, inspecting their remote battery lifespan to determine if they needed replacing sooner. Clean any corrosion or debris inside the compartment to support proper remote control maintenance. Insert the new batteries, ensuring they match the correct polarity. Close the compartment securely. This step-by-step process helps extend your remote’s lifespan and ensures reliable performance, making future remote control maintenance easier and more efficient.
Frequently Asked Questions
How Often Should I Replace My Remote Batteries?
You should replace your remote batteries every 6 to 12 months, depending on usage and battery lifespan. If your remote starts to lag or the signal weakens, it’s a sign to do a replacement. Regularly checking and replacing batteries ensures your remote functions smoothly. Keep in mind that high-drain batteries may need more frequent replacement, so pay attention to performance and replace as needed for consistent operation.
Can I Use Rechargeable Batteries in My Remote?
You can use rechargeable batteries in your remote, and they often last longer per charge, reducing waste. Notably, rechargeable batteries typically have a shorter overall lifespan compared to disposable ones, but they can be recharged hundreds of times. This makes them a cost-effective and eco-friendly choice. Just make certain your remote is compatible with rechargeable batteries and that you follow the manufacturer’s recommendations for ideal performance and battery lifespan.
What Should I Do if the Remote Still Doesn’T Work After Replacing Batteries?
If your remote still doesn’t work after replacing batteries, start by testing the new batteries with a battery tester to guarantee they’re not faulty. Next, clean the remote’s contacts and sensor with a soft cloth or alcohol wipe to remove dirt or grime. Sometimes, dust or debris can interfere with signals. If it still won’t work, consider resetting the remote or checking for physical damage.
Are There Safety Precautions for Handling Battery Acid?
When handling batteries, always prioritize acid safety by wearing gloves and eye protection to prevent contact with battery acid. Avoid tilting or puncturing batteries, as this can cause leaks or spills. Work in a well-ventilated area to avoid inhaling fumes, and wash your hands thoroughly afterward. Proper battery handling minimizes the risk of acid burns and other injuries, ensuring your safety during the replacement process.
How Do I Prevent Corrosion on Remote Batteries?
To prevent battery corrosion during remote maintenance, regularly check your batteries for any signs of buildup or leaks. Keep the battery terminals clean by gently wiping them with a mixture of baking soda and water, then dry thoroughly. Apply a thin layer of petroleum jelly or terminal protectant to inhibit corrosion. Properly securing batteries and avoiding exposure to moisture also help maintain good battery health and ensure your remote functions smoothly.
Conclusion
Just as Icarus learned the importance of heedful flight, so too must you approach remote battery replacement with care and attention. By understanding the basics, gathering the right tools, and following this checklist, you’ll keep your device soaring smoothly. Remember, every small step echoes the wisdom of Daedalus’ craftsmanship—precise, deliberate, and mindful. With this knowledge, you’re now ready to conquer battery swaps confidently, ensuring your remote remains a loyal companion in your daily adventures.