
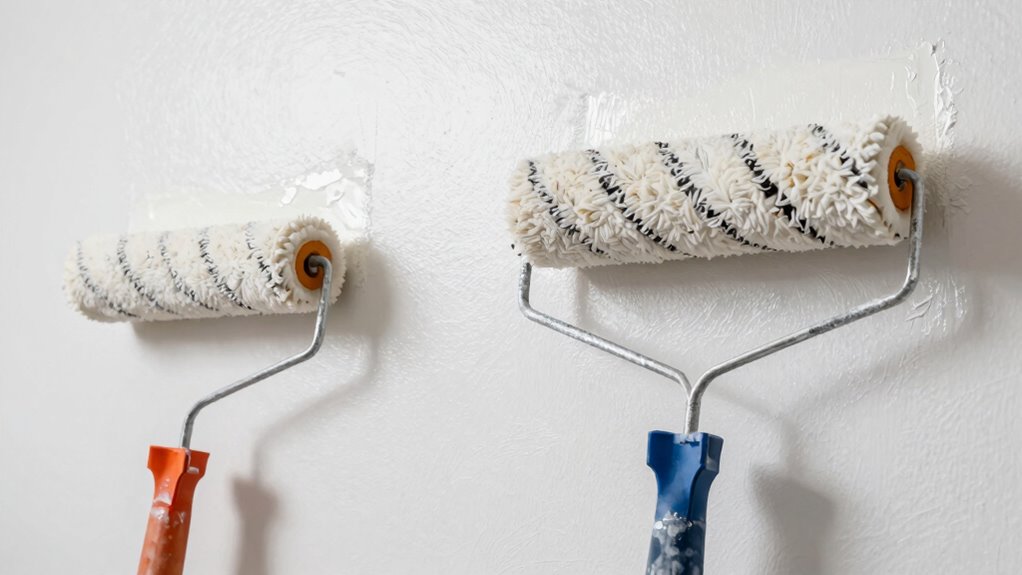
Adjusting your roller width is key to achieving a smooth, professional finish. Use wider rollers for large, flat areas to cover faster and narrow rollers for detailed spots like edges and trim. Properly switching between roller sizes helps prevent streaks and uneven coverage. Keep tools handy, like tape measures and adjustable wrenches, to make quick adjustments. Mastering these techniques ensures your paint job looks flawless—if you want to learn more, you’ll discover smart tips and tricks to improve your results.
Key Takeaways
- Select the appropriate roller width based on surface size and detail level to ensure even coverage and control.
- Adjust roller width as needed when transitioning between large flat surfaces and detailed areas for optimal results.
- Proper roller storage and cleaning prevent paint drying on the nap, maintaining effective width adjustment.
- Use tools like tape measures and adjustable wrenches to accurately change and secure roller widths during the project.
- Matching roller width to surface texture and project scope improves efficiency, reduces waste, and enhances final quality.
Paint Roller with Extended Detachable Pole Handle, Household Wall Painting Tool, Paint Roller Set for Walls and Ceiling, Paint Roller Brush Easy to Install and Remove (Total Length:7.2feet)
【Safe and Convenient】:Our Paint Rollers with long handle make it easy to paint walls and ceilings without the…
As an affiliate, we earn on qualifying purchases.
As an affiliate, we earn on qualifying purchases.
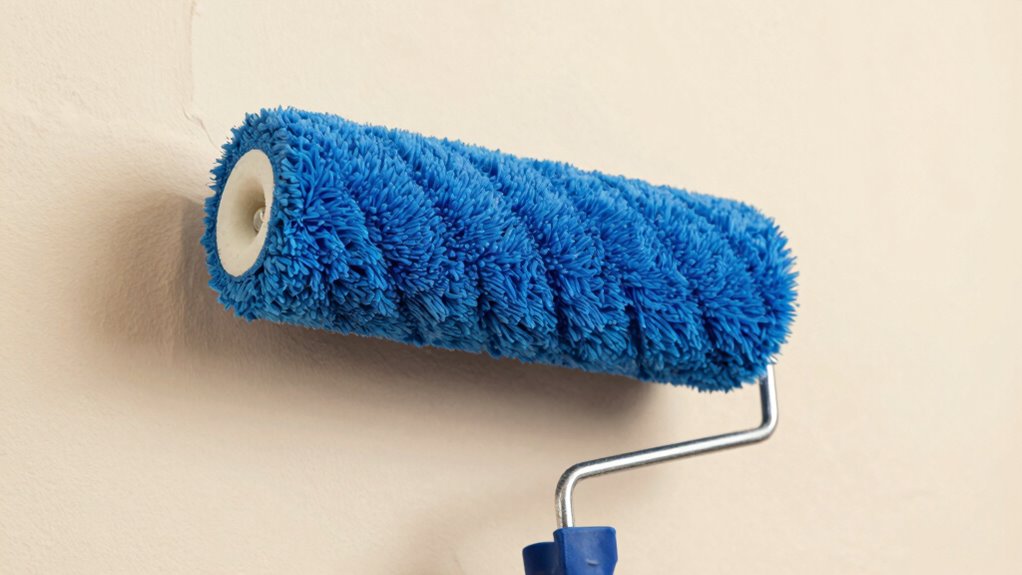
Why Roller Width Matters for a Smooth Finish
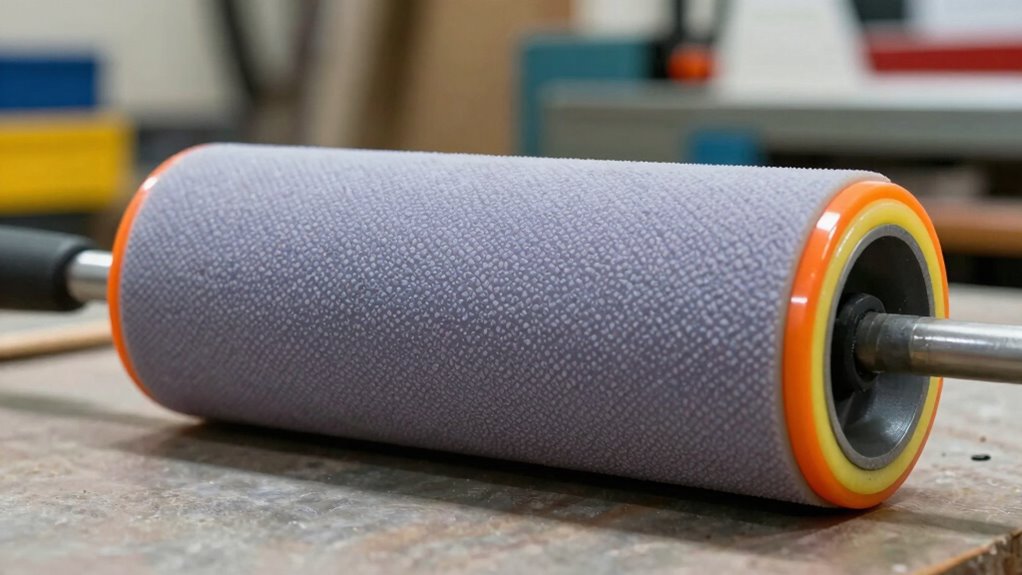
Have you ever wondered why some painted surfaces look streaky or uneven? The answer often lies in paint texture and roller width. Using a roller that’s too narrow for the surface can cause uneven coverage, leaving streaks or lap marks. Conversely, a wider roller spreads paint more evenly, reducing the risk of texture inconsistencies. Proper roller storage is essential to keep the roller in good shape and prevent paint from drying on the nap, which can worsen texture issues. When you choose the right roller width, you ensure smooth, consistent coverage, making your job easier and improving the final look. Additionally, selecting eco-friendly and energy-efficient tools, such as sustainable paint equipment, can contribute to a more environmentally conscious project. Selecting the right paint tools and accessories also helps maintain quality and efficiency throughout your painting process. To further optimize your results, consider understanding paint roller maintenance, which can extend the lifespan of your tools and ensure a flawless finish. Moreover, understanding sound vibrations and their influence on material application can help in choosing the best tools for achieving a perfect coat. For example, incorporating proper technique can significantly impact the uniformity of your paint application.

Rhibak Paint Roller Kit with Extension Pole, 27 Piece Set, 2 to 4 Ft Pole, 4"9" Paint Rollers, Paint Brushes Set for Professional Painting,House Paint Roller for All Latex and Oil Paints & Stains
【All IN ONE 】Great painting tool kit with 4 Inch paint roller cover *6 , 9 Inch paint…
As an affiliate, we earn on qualifying purchases.
As an affiliate, we earn on qualifying purchases.
Which Roller Width Is Best for Different Surfaces
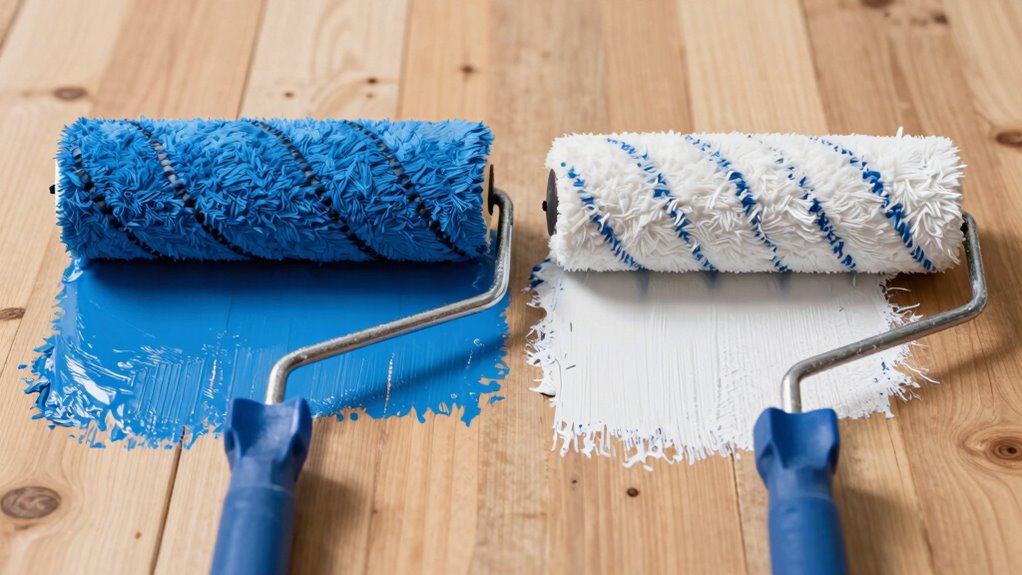
Choosing the right roller width depends on the surface texture you’re working with. A narrower roller works best for detailed areas, while wider rollers cover large, smooth surfaces more efficiently. Understanding surface compatibility helps you pick the ideal width for a flawless finish. Additionally, selecting the appropriate roller width can enhance the application of airless paint sprayers, ensuring even coverage and minimizing the need for touch-ups. When working on textured or uneven surfaces, using the proper roller width can also prevent paint wastage and improve overall efficiency. Properly matching roller width to surface type can also maximize paint coverage, saving both time and material. Recognizing the impact of roller material on paint adhesion can further optimize your painting process.
Surface Texture Compatibility
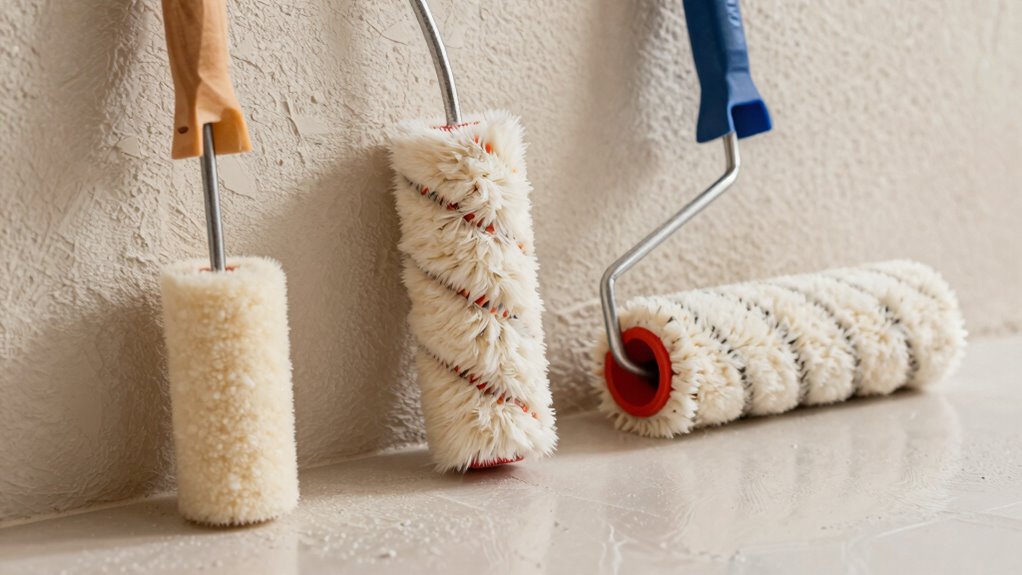
Selecting the right roller width is essential for achieving a smooth finish on different surface textures. When dealing with texture variation, choosing a roller that matches the surface guarantees better coverage and reduces uneven spots. For rough or heavily textured surfaces, wider rollers are more effective because they cover more area and handle the surface’s irregularities better. Narrower rollers excel on smooth surfaces, providing more control and reducing the risk of splatter. Additionally, consider roller durability; a high-quality roller maintains its integrity and performance over time, especially on challenging textures. Proper surface preparation is also crucial to ensure optimal adhesion and finish quality. Using a roller suited to your surface texture not only improves the finish but also extends the roller’s lifespan, making your painting project more efficient and satisfying. Selecting the right roller width can significantly influence the overall quality and efficiency of your painting, especially when considering different surface textures.
Ideal Roller Widths
The ideal roller width depends on the surface you’re working with, ensuring you achieve a smooth and efficient finish. For large, flat surfaces like walls, a wide roller (9-12 inches) covers more area quickly, reducing the need for frequent roller storage. When applying paint primer on detailed surfaces or trim, a narrower roller (3-5 inches) offers better control and precision. Medium rollers (6-8 inches) work well for furniture or smaller projects, balancing coverage and detail. Remember, using the right width helps prevent paint buildup or uneven coats. Proper roller storage preserves the nap and prevents debris. Additionally, selecting the appropriate roller width can enhance painting efficiency and lead to a more professional-looking result. Incorporating connected tools such as paint sprayers or digital measuring devices can further improve your painting process and results. Paying attention to paint application techniques can also make a significant difference in achieving a smooth, flawless finish. For optimal results, consider roller nap types to match your project’s texture and surface. Using the correct roller width also helps minimize paint waste, saving you time and resources.

Toolfuze Paint Roller Cleaning Kit – 3-Piece Drill-Powered Roller Cleaner, Ejector & Scraper Bundle – Fits 4" to 14" Rollers – Fast Cleanup, Less Mess – Made in USA
THREE PIECE ROLLER CLEANUP BUNDLE: Includes the SpinFuze roller cleaner, PaintPop Pro roller ejector, and CleanSweep Pro scraper…
As an affiliate, we earn on qualifying purchases.
As an affiliate, we earn on qualifying purchases.
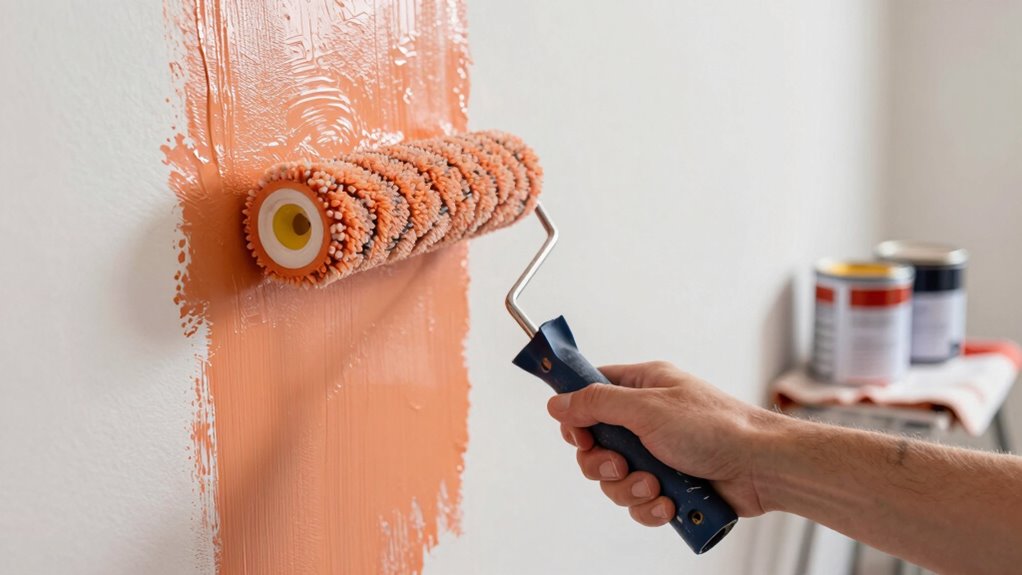
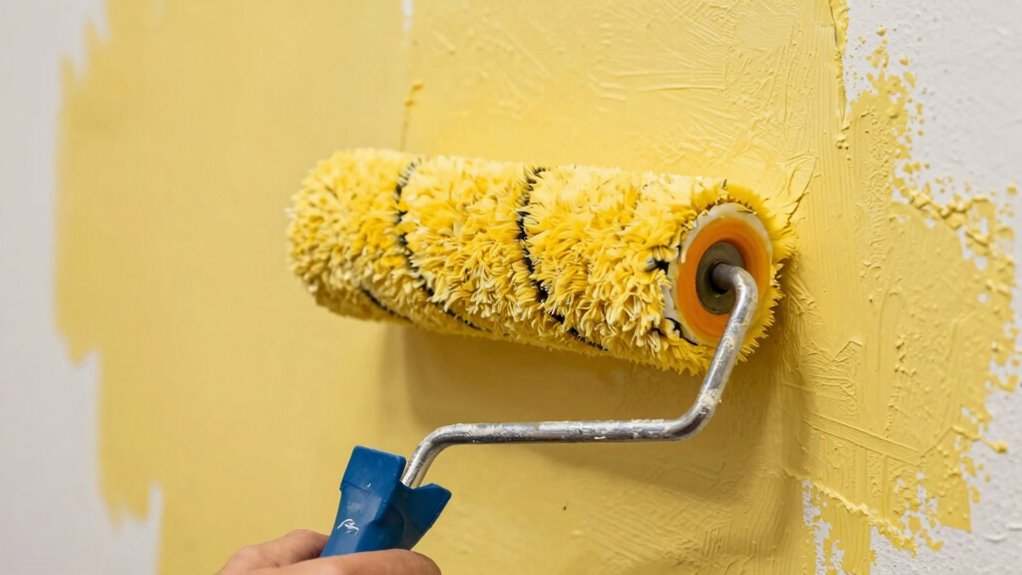
Picking the Right Roller Width for Large Flat Areas
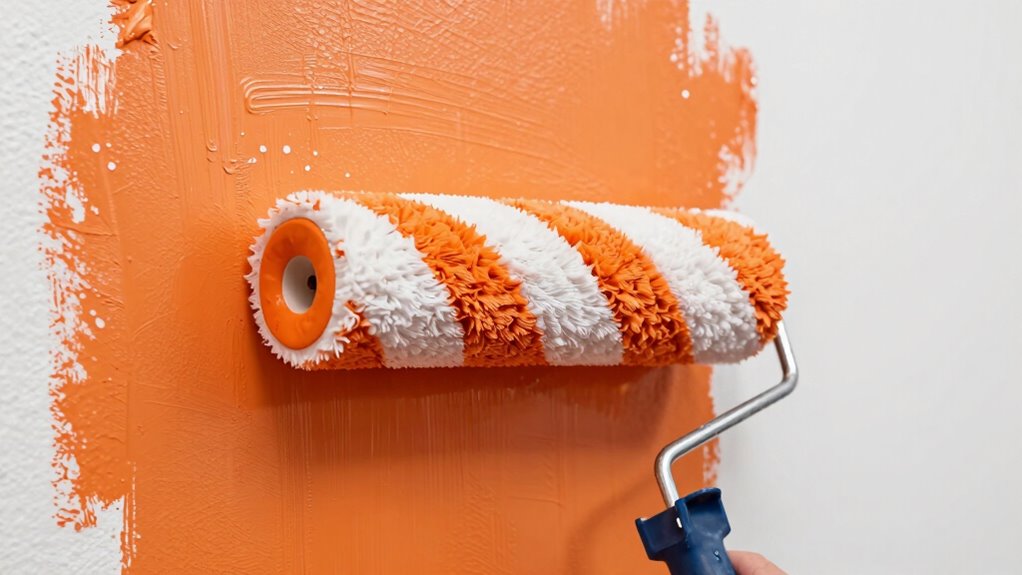
When tackling large flat areas, picking the right roller width can considerably impact your efficiency and the quality of your finish. A wider roller covers more surface quickly, reducing application time, but may be harder to control in tight spots. For large spaces, opt for a roller that balances coverage with control—usually 9 to 12 inches wide. This size allows you to maintain consistent brush techniques, ensuring even application of paint color. Using the correct roller width helps prevent streaks and lap marks, resulting in a smoother surface. Keep in mind, the choice also influences how easily you can manage paint distribution, especially when working with different paint types. Larger rollers make the job faster, but always match roller width to your comfort and the specifics of your project for the best finish. Additionally, understanding roller types can help you select the most suitable option for your specific surface and paint type. Being aware of proper technique when using different roller widths can further enhance your results and efficiency. It’s also helpful to consider paint compatibility, as different paints may require specific roller sizes for optimal application. Recognizing the importance of surface texture can guide you in choosing the right roller for achieving a professional-looking result. Moreover, selecting the appropriate roller width based on project scope can streamline your workflow and improve overall quality.
Painting Palette Knife – 5pcs Professional Stainless Palette Paint Knives With 6 Plastic Scrapers Ar Paint Tool for Oil, Canvas, Acrylic Painting & Cake Decorating
Comprehensive 11-Piece Set: Includes 5 durable stainless steel palette knife and 6 versatile plastic scrapers for various artistic…
As an affiliate, we earn on qualifying purchases.
As an affiliate, we earn on qualifying purchases.
When to Use Narrow Rollers for Detail Work
Narrow rollers are ideal when you need precision and control for detailed painting tasks. They excel in areas like trim, corners, or intricate designs, where larger rollers can’t reach or may cause messes. Using a narrow roller helps you maintain clean lines, especially when choosing paint colors for small sections or accents. Proper paint roller maintenance, like cleaning and storing, guarantees consistent performance during detailed work. Additionally, selecting the right painting tools can significantly improve your results in fine detailing. For better results, consider using ergonomic office chairs that provide comfort during long painting sessions, reducing fatigue and improving accuracy. Paying attention to vintage tools can also ensure you achieve a classic finish that complements your retro decor.
How to Adjust Roller Widths for Corners and Edges

Adjusting your roller width for corners and edges guarantees precise application and clean lines. To do this effectively, start by selecting the right roller width for each area. Use brush techniques, like feathering and light pressure, to refine corners and edges after rolling. Store your rollers properly with roller storage solutions to keep them clean and maintain their shape, ensuring consistent results. When approaching tight spots, switch to narrower rollers or cut-in brushes for accuracy. For broader edges, widen your roller width gradually for seamless coverage. Remember, adjusting roller width isn’t just about size; it’s about applying the right technique to achieve sharp edges and prevent paint bleed. Proper roller storage and technique are essential for professional-looking corners and edges.
Switching Roller Widths Mid-Project Without Messing Up
Switching roller widths mid-project can be tricky, but with the right approach, you can do it without creating a mess. First, pause painting and gently remove the paint roller from the handle. Clean the roller thoroughly to prevent drips or splatters when changing. Next, select your new roller with the desired width adjustment, ensuring it fits securely. Before continuing, lightly feather the edges of the painted area to blend the transition. When you attach the new paint roller, apply gentle pressure to avoid excess paint buildup. Keep a steady hand and work slowly to prevent splattering or uneven coverage. With careful handling, changing roller widths mid-project becomes straightforward, helping you maintain a professional finish without mess or hassle.
Common Mistakes When Choosing Roller Widths: and How to Avoid Them
Choosing the wrong roller width can lead to uneven finishes or damage, so it’s crucial to take into account several common mistakes. Ignoring surface compatibility, overlooking roller material, or misjudging your project size can cause issues down the line. To avoid these pitfalls, make sure you select the right roller for your specific needs.
Ignoring Surface Compatibility
One common mistake is ignoring the surface you’re working on, which can lead to uneven application and poor results. The surface texture plays a vital role in choosing the right roller width, as rough or textured surfaces require different approaches than smooth ones. Additionally, the paint type affects how the roller interacts with the surface; thick, heavy paints may need wider rollers for efficient coverage, while thinner paints work better with narrower ones. Failing to take into account these factors can cause streaks, missed spots, or excessive spatter. Always assess the surface texture and paint type before selecting your roller width. This guarantees even coverage, minimizes waste, and delivers a professional finish. Don’t overlook surface compatibility—it’s key to a successful painting project.
Overlooking Roller Material
Selecting the right roller width is important, but overlooking the roller material can lead to issues that compromise your finish. The roller material affects how well it handles different paint viscosities and provides a smooth application. For instance, foam rollers work better with thin paints, while thicker materials like mohair are suited for high-viscosity paints. Using an unsuitable roller material can cause streaks, uneven coverage, or splattering. Consider this table:
| Roller Material | Best For | Paint Viscosity |
|---|---|---|
| Foam | Thin paints | Low viscosity |
| Mohair | Thick paints | High viscosity |
| Polyester | All-around | Medium viscosity |
Matching roller material to your paint viscosity ensures a flawless finish and reduces rework.
Misjudging Project Size
Misjudging the size of your project can lead to inefficient work and subpar results. Poor project planning often causes you to select an incorrect roller width, wasting time and money. To avoid this, consider these key points:
- Accurate measurements: Measure the entire surface to determine the necessary roller width, preventing under- or overestimating.
- Budget estimation: Larger rollers may seem cost-effective initially, but they can inflate your budget if the project is small. Match roller size to project scope to stay within budget.
- Project scope clarity: Clearly define your project’s size and complexity beforehand to select the right roller width, ensuring efficiency.
Failing to do so can lead to delays and increased costs, emphasizing the importance of precise project planning and realistic budget estimation.
Tools and Tips for Changing and Maintaining Roller Widths
Adjusting roller widths requires the right tools and proper techniques to guarantee accuracy and safety. To start, use adjustable roller frame wrenches or pliers to modify the roller’s width precisely. Keep your paint roller storage organized so you can quickly access different roller sizes when needed. Regular roller cleaning ensures smooth adjustments and prolongs roller life, preventing buildup that can hinder resizing. When changing widths, measure carefully to avoid over-tightening or loosening components. Proper tools make these adjustments straightforward, saving time and reducing frustration. Here’s a quick reference:
| Tool | Purpose |
|---|---|
| Adjustable wrench | Loosening/tightening roller frame parts |
| Pliers | Fine adjustments and grip |
| Tape measure | Ensuring accurate width changes |
| Roller cleaner | Maintaining smooth operation |
| Storage containers | Organized paint roller storage |
How to Match Roller Widths to Your Painting Goals
Choosing the right roller width is essential for achieving your desired finish and efficiency. To match roller widths to your painting goals, consider how your project’s scope influences your choice. First, decide on the roller material—foam rollers work well for smooth surfaces and detailed paint color choices, while thicker-nap rollers are better for textured walls. Second, evaluate the area size: wider rollers (9-18 inches) cover large surfaces faster, ideal for big rooms, while narrower rollers (4-9 inches) allow better control for intricate areas. Third, think about the paint type: thicker paints or those with more pigment need wider coverage, but ensure your roller width complements your desired finish. Matching roller width to your goals guarantees efficiency and a professional look.
Final Tips for Achieving a Professional Finish
To get a professional finish, start with proper surface preparation to guarantee smooth paint application. Use a consistent roll technique to avoid streaks and uneven coverage. Don’t forget to choose quality tools, as they make a noticeable difference in your final results.
Proper Surface Preparation
Before you start applying paint or coating, taking the time to properly prepare the surface is essential for a professional finish. Proper preparation ensures even coverage and smooth results. First, clean the surface thoroughly to remove dust, grease, or old paint, which can affect adhesion. Second, sand rough areas to create a smooth base, improving the effectiveness of your brush techniques. Third, check the paint viscosity; use the right consistency—thick enough to cover well but not so thick that it drips. By preparing the surface correctly, you’ll minimize imperfections and ensure your application is even. Remember, good surface prep sets the foundation for a flawless finish, making your roller’s width adjustments more effective and your overall project look more professional.
Consistent Roll Technique
Maintaining a consistent rolling technique is key to achieving a smooth, professional finish. Keep your roller grip firm but comfortable to control paint flow and avoid uneven thickness. Apply even pressure throughout each stroke to maintain consistent paint thickness, preventing streaks or lap marks. Work in smooth, overlapping passes, ensuring the roller doesn’t stop or press too hard, which can cause texture inconsistencies. Pay attention to your speed—too fast can lead to missed spots, while too slow may cause excess paint buildup. Regularly reload the roller to prevent dry patches. By focusing on a steady grip and uniform pressure, you’ll get a flawless finish that looks polished and professional. Consistency is your best tool for perfect results.
Use Quality Tools
Using high-quality tools is essential for achieving a professional-looking finish. Quality brushes and rollers provide smoother, more even coats, reducing the need for touch-ups. To get the best results, focus on:
- Proper brush care: Clean brushes thoroughly after each use, ensuring they stay in top shape for future projects. This prevents bristle wear and maintains precision.
- Accurate paint mixing: Mix your paint thoroughly to achieve consistent color and texture, avoiding streaks or uneven coverage.
- Choosing the right tools: Select rollers with appropriate nap lengths for your surface, and opt for high-quality brushes for cutting in edges seamlessly.
Investing in quality tools helps you control application better, resulting in a polished, professional finish every time.
Frequently Asked Questions
Can I Use Different Roller Widths for Textured Versus Smooth Walls?
Yes, you can use different roller widths for textured versus smooth walls. Texture considerations are key, so a wider roller might work better for textured surfaces, while a narrower one handles smooth walls more easily. Just guarantee your roller handle compatibility with each roller width to avoid slipping or mishaps. Switching roller widths based on surface type helps achieve a professional finish and makes your painting process more efficient.
How Does Roller Width Affect Paint Coverage Efficiency?
Using a wider roller is like spreading a wide brushstroke—it covers more area quickly. It influences paint coverage efficiency because a broader roller absorbs more paint and distributes it evenly, reducing the number of trips needed. Plus, wider rollers tend to be more durable, handling paint absorption better and lasting longer. So, choosing the right width helps you finish faster and ensures smooth, even coverage without wasting paint.
Are Adjustable Roller Widths Compatible With All Types of Paint?
Adjustable roller features generally offer good paint roller compatibility, but they may not work with all types of paint. Thick or heavy paints can sometimes clog or strain the adjustable mechanism, making it less effective. You should check the manufacturer’s guidelines to verify your preferred paint type is compatible with the roller’s adjustable features. Always test first to avoid damage and ensure smooth, even application.
What Is the Best Technique for Changing Roller Widths Quickly?
Changing roller widths quickly is like switching gears smoothly. Keep a dedicated paint roller storage bag with various sizes and guarantee roller frame compatibility to swap effortlessly. Use quick-release mechanisms on your roller frames for seamless adjustments. By organizing your tools and selecting compatible frames, you can adapt your roller width in a flash, making your painting process more efficient and less frustrating.
Does Roller Width Influence the Amount of Paint Splatter?
Yes, roller width influences the amount of paint splatter you experience. A wider roller covers more surface area, which can reduce splatter by providing a smoother, more even application. Conversely, narrower rollers may increase splatter because they require more passes, often leading to excess paint being flicked off. To minimize paint splatter, choose a roller width suited to your project size and use steady, controlled motions.
Conclusion
Remember, choosing the right roller width is like selecting the perfect brushstroke for your masterpiece. When you match the roller to your surface, you’ll glide smoothly, leaving behind a flawless, even coat—like a gentle breeze sweeping across a calm lake. With each careful adjustment, you’re crafting a professional finish that transforms your space into a seamless canvas of color. Trust your choices, and enjoy the satisfying, polished result that awaits.