
To confidently replace remote batteries, start by gathering the right tools like a screwdriver, tweezers, and fresh batteries suited for your device. Locate the battery compartment, usually on the back, and open it carefully. Remove the old batteries, making sure to dispose of them properly, then insert new ones, aligning the positive and negative ends correctly. Afterward, test your remote to ensure it works. Keep going, and you’ll soon master this simple task with ease.
Key Takeaways
- Gather the correct batteries and essential tools before starting to ensure a smooth process.
- Locate and open the remote’s battery compartment carefully, noting the battery orientation.
- Remove old batteries gently, following proper disposal guidelines to protect the environment.
- Insert new batteries correctly, aligning positive (+) and negative (–) ends with compartment markings.
- Test the remote and troubleshoot if necessary by checking battery placement, sensor visibility, and device operation.
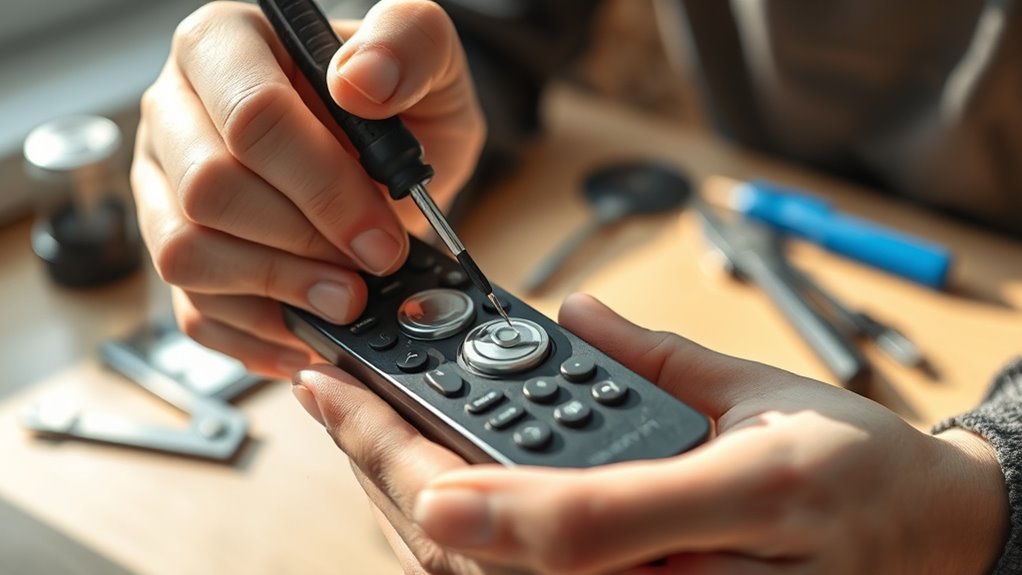
Gathering the Right Tools and Supplies

Before you begin replacing your remote batteries, you need to gather the necessary tools and supplies. First, identify the correct battery types for your remote—common options include AA, AAA, or button cell batteries. Check your remote’s manual or look inside the battery compartment to confirm. Next, gather your tool essentials: a small Phillips or flat-head screwdriver, a soft cloth or towel to work on, and possibly a pair of tweezers for handling tiny batteries. Having everything ready guarantees a smooth replacement process and prevents unnecessary delays. Additionally, understanding the bedroom setup can help you organize your workspace comfortably. Double-check that you have the right batteries and tools before starting. With these essentials in place, you’re prepared to safely and efficiently replace your remote’s batteries and get back to enjoying your favorite shows.
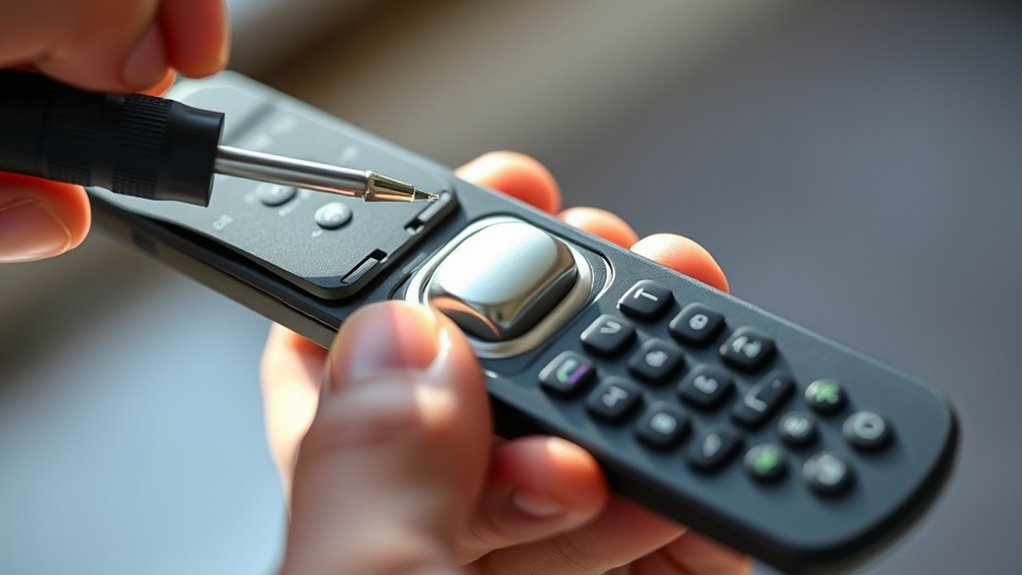
Locating and Opening Your Remote
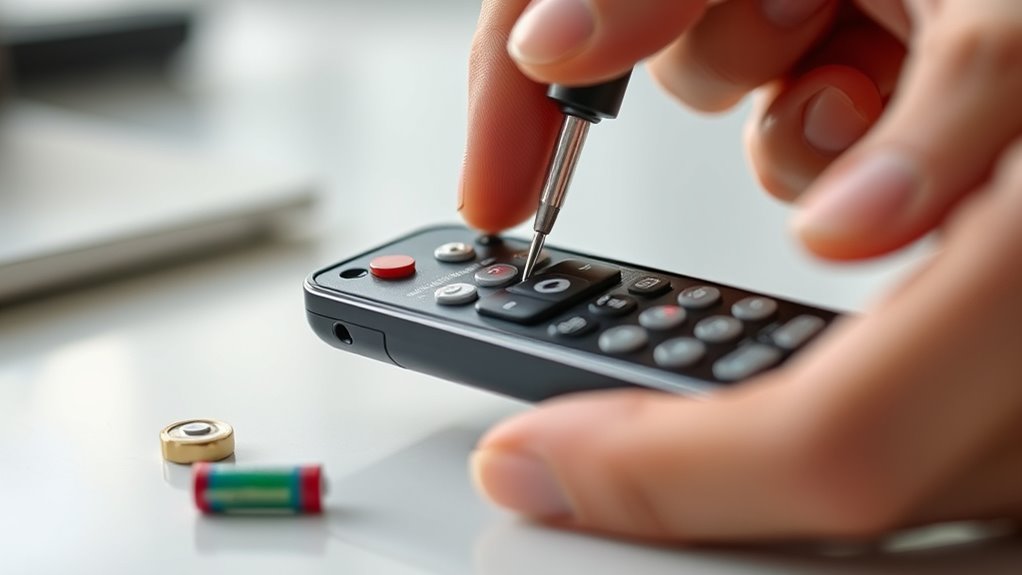
To locate and open your remote, start by turning it over to find the battery compartment. Most remotes have a small cover or panel that slides or snaps off easily. Check for a notch or groove to help open it. Once open, you’ll see the batteries inside. Knowing your remote’s compatibility is essential, as some models use different battery types or sizes, affecting the battery lifespan. Confirm you’re using the right batteries to ensure proper operation and avoid damage. Take note of the orientation of the batteries before removing them so you can insert the new ones correctly. Opening your remote carefully prevents damage and makes replacing batteries straightforward. With the compartment open, you’re ready to remove the old batteries and insert fresh ones. Proper battery selection is crucial for maintaining your remote’s functionality and longevity.
Removing Old Batteries Safely
When removing old batteries from your remote, take care to avoid damaging the compartment or the batteries themselves. Handle batteries gently, using your fingers or a non-metallic tool to prevent accidental short circuits. Practice battery safety by avoiding puncturing or crushing the batteries, which could release harmful chemicals. Once removed, follow proper disposal guidelines—do not throw batteries in regular trash. Instead, recycle them at designated collection points or electronic waste facilities. Keep batteries away from heat, water, and metal objects to prevent leaks or fires. Always wash your hands after handling old batteries. Taking these precautions ensures your safety and helps protect the environment. Proper removal and disposal are essential steps in maintaining a safe and responsible battery replacement process. Additionally, understanding battery chemistry can help you better manage their safe handling and disposal.
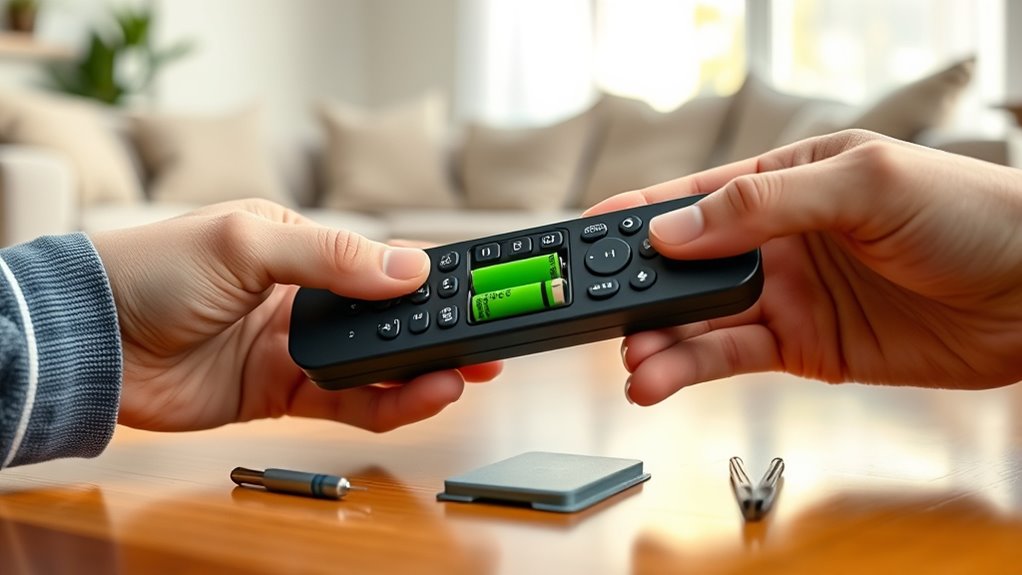
Inserting New Batteries Correctly
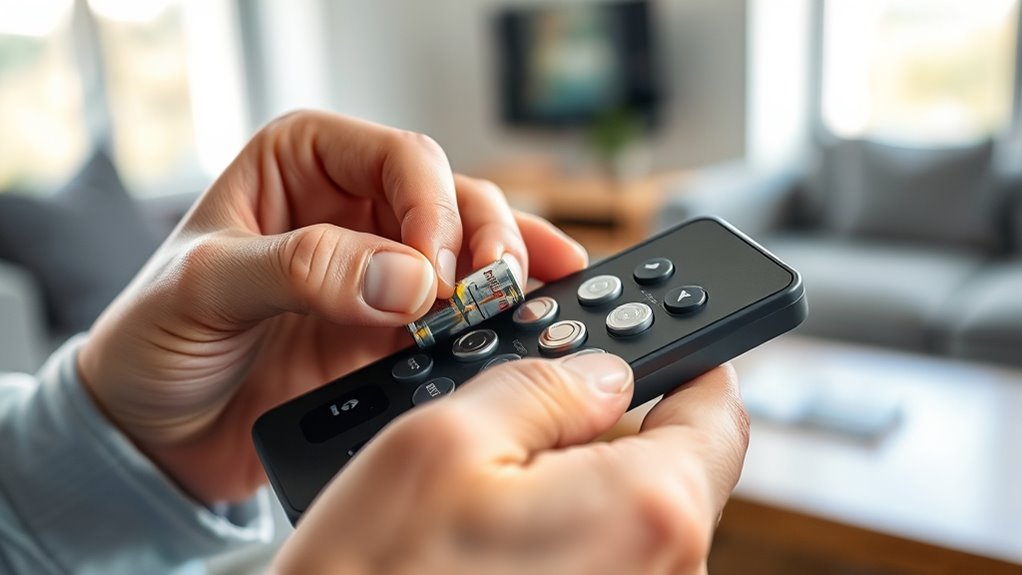
After safely removing the old batteries, it’s time to insert the new ones correctly. Start by checking the battery orientation—look for the + and – signs inside the compartment. Make sure each battery’s contact point alignment matches these symbols for proper connection. Proper placement is key to avoid malfunction or damage. Here’s what to keep in mind:
- Align the positive (+) end with the positive terminal.
- Match the negative (–) end with the negative terminal.
- Confirm contact point alignment with the markings inside the compartment.
- Insert batteries gently to avoid damaging the contacts.
- Double-check that batteries sit flat and securely.
- Ensuring a secure connection can prevent remote work burnout and related frustration.
Testing Your Remote and Troubleshooting
Before testing your remote, make certain the batteries are installed correctly and securely, as improper placement can cause it to malfunction. If your remote isn’t responding, check for remote signal issues first—ensure nothing is blocking the sensor and that you’re within range. Keep in mind that battery lifespan affects performance; old or weak batteries may reduce signal strength or cause unresponsiveness. To troubleshoot, replace the batteries with fresh ones if you suspect they’re depleted. Test the remote by pressing buttons and observing if the device responds. If it still doesn’t work, try cleaning the remote’s sensor or resetting the device. Proper testing helps determine whether the problem lies with the batteries, the remote itself, or the device you’re controlling. Additionally, understanding the Kia Tuning options can help optimize your vehicle’s response and performance after troubleshooting.
Frequently Asked Questions
What Types of Batteries Are Compatible With My Remote?
You need to check your remote’s manual or back panel to find compatible models like AA, AAA, or button cell batteries. Using the right type guarantees a good battery lifespan and ideal remote performance. Avoid mixing incompatible models, as it can damage your remote or reduce its effectiveness. Always replace batteries with fresh, compatible ones for the best experience and longer-lasting performance.
How Often Should I Replace Remote Batteries?
You should replace your remote batteries when you notice the battery lifespan is shortening or the remote starts acting up. Typically, replacement frequency varies from every 6 to 12 months, depending on usage. To avoid interruptions, check your batteries regularly and replace them promptly when their performance declines. Keeping fresh batteries guarantees your remote functions smoothly and prevents unexpected power loss.
Can I Recycle Old Remote Batteries Safely?
You can absolutely recycle old remote batteries safely. Imagine a world where your used batteries transform into new products, reducing waste and conserving resources. To do so, always follow proper battery recycling and safe disposal guidelines. Many local recycling centers accept rechargeable and single-use batteries. By choosing battery recycling, you help prevent hazardous materials from polluting the environment, ensuring your old remote batteries are disposed of responsibly and safely.
What Signs Indicate My Remote Batteries Need Replacing?
You’ll notice your remote batteries need replacing when the remote battery indicators show low or no signal, or if the device responds slowly or not at all. Additionally, if the remote’s battery lifespan has been exceeded or you hear a faint clicking sound when pressing buttons, it’s a sign. Keep an eye on these indicators to prevent interruptions and make certain of smooth operation of your remote control.
Are There Special Precautions for Handling Lithium Batteries?
Handling lithium batteries is like walking a tightrope—careful and deliberate. Always wear gloves and eye protection to guarantee battery safety, and avoid puncturing or crushing them. Keep batteries away from heat, water, and direct sunlight, and store them in a cool, dry place. Handling precautions are vital to prevent leaks or fires, so treat lithium batteries with respect and caution, just like you’d handle any precious treasure.
Conclusion
Now that you’ve successfully replaced your remote’s batteries, you’re all set to enjoy seamless control. Imagine a friend struggling with their remote; after showing them this simple process, they’ll avoid frustration and keep their devices working smoothly. With a bit of confidence and the right tools, you’ve turned a small task into a quick victory. Keep these steps in mind, and you’ll confidently tackle battery replacements anytime, saving time and avoiding unnecessary replacements.