

To substitute remote batteries in 15 minutes, gather the right batteries and tools, then find a clean, well-lit workspace. Open the back cover carefully, remove the old batteries noting their orientation, and clean the contacts if needed. Insert the new batteries properly, secure the cover, and test your remote to verify it’s working. If you want to perfect your quick change, continue exploring these steps for a smooth, hassle-free process.
Key Takeaways
- Gather the correct batteries and tools beforehand to streamline the replacement process.
- Confirm battery type and orientation by inspecting existing batteries and remote markings.
- Safely open the remote, remove old batteries, and dispose of them properly.
- Clean contacts if needed, then insert new batteries ensuring proper alignment.
- Reassemble, test the remote’s functions, and store spare batteries in a safe, accessible place.
Gather Your Tools and Supplies
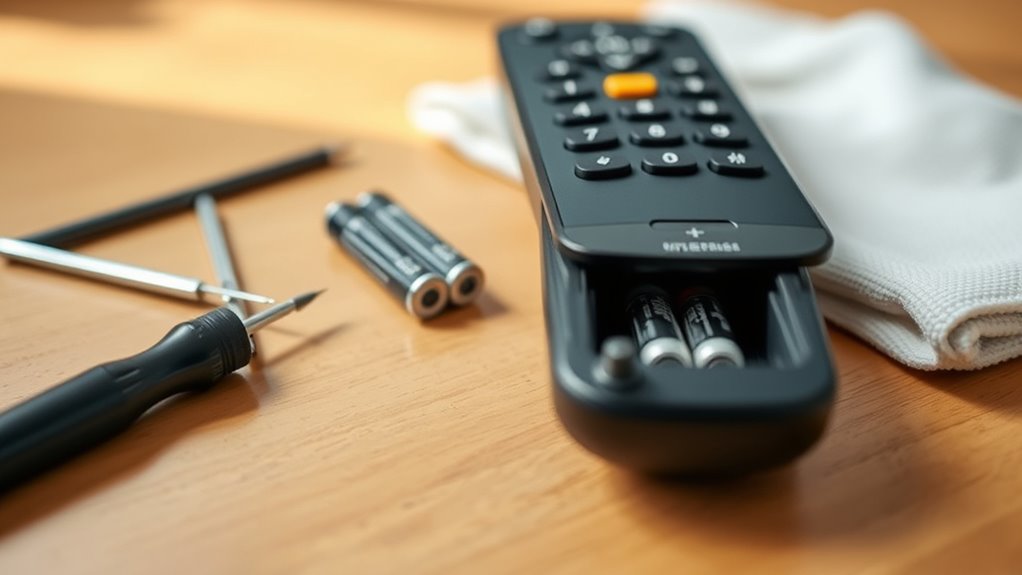
Before you begin, gather all the tools and supplies you’ll need to replace your remote’s batteries quickly and efficiently. Start by collecting the correct remote battery types—check your remote’s manual or old batteries to determine whether you need AA, AAA, or coin-cell batteries. Having the right batteries on hand saves time and prevents frustration. Next, gather a small screwdriver if your remote has screws securing the battery cover. Keep a clean cloth nearby for tool maintenance, such as wiping down contacts or removing debris. It’s also helpful to have a pair of tweezers for handling batteries safely. Ensuring you have these supplies ready streamlines the process, minimizes delays, and makes replacing your remote batteries a straightforward task. Additionally, understanding the battery types used in various devices can help you select the most compatible replacements quickly.
Identify the Correct Battery Type

To make certain you replace your remote’s batteries correctly, you need to identify the right type first. Start by checking your remote model, often printed on the back or inside the battery compartment. Then, examine the existing batteries for clues about their battery chemistry—whether they’re alkaline, lithium, or rechargeable. Knowing this helps you select the same type for a seamless replacement. Visualize opening your remote and seeing:
Check your remote’s model and batteries to ensure a proper, damage-free replacement.
- Tiny silver discs or rectangular cells
- Labels with “LR44,” “AA,” or “9V”
- Symbols indicating battery chemistry (like a “Li” for lithium)
- The shape and size matching the existing batteries
Matching these details ensures compatibility and prevents damage, making your battery swap quick and effective. Additionally, understanding city dynamics can help you choose the right batteries if your remote is designed for specific regional models or standards.
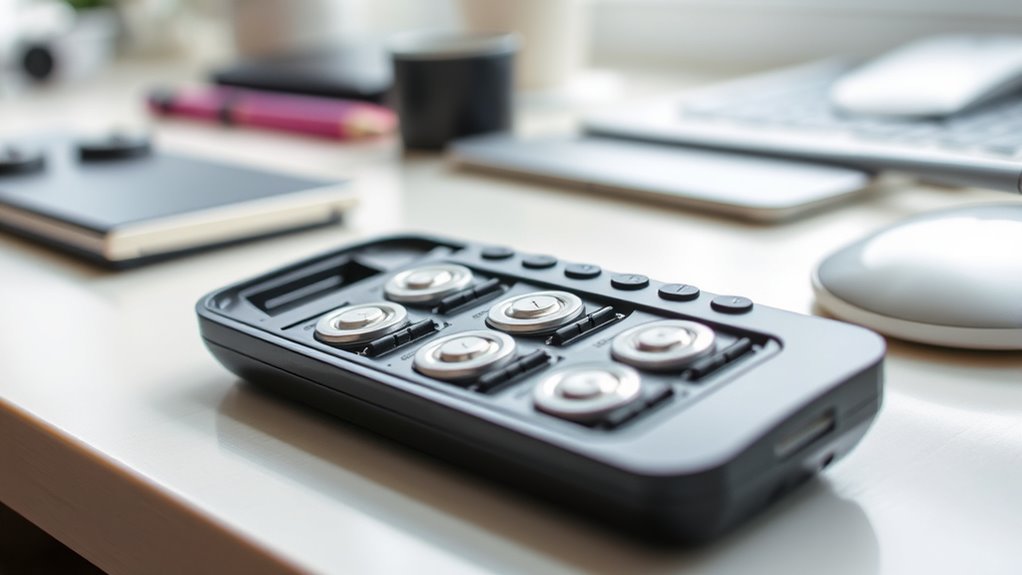
Clear a Workspace for Easy Access

Start by clearing your workspace to make sure easy access to the remote. Remove any clutter or obstacles that could slow you down. A tidy area helps you work efficiently and avoid accidental drops or slips.
Clear Surroundings First
Clearing your surroundings creates a safe, organized workspace that makes replacing remote batteries quicker and easier. When your area is tidy, you can quickly locate the remote and avoid accidental drops or damage. A clutter-free space also helps you check the remote’s compatibility and assess the remote battery lifespan more efficiently. Incorporating space maximization techniques can further streamline your process. Picture a clean surface with:
- A soft cloth to place the remote on
- A small screwdriver or tool for battery cover removal
- Fresh batteries ready to install
- Adequate lighting to see small parts clearly
This setup minimizes distractions and streamlines the process. Removing clutter ensures you won’t lose tiny screws or misplace batteries, saving precious time. A clear workspace not only speeds up the task but also reduces frustration, making battery replacement seamless.
Remove Clutter Quickly
Having a cluttered workspace can slow you down and make it harder to access the remote’s battery compartment. When you clear your area, you streamline remote troubleshooting, saving time during battery replacements. Remove any objects, papers, or gadgets that block your view or access to the remote. An organized space helps you spot the battery compartment quickly, preventing unnecessary frustration. Plus, a tidy workspace reduces the risk of damaging your remote or knocking over other items. Keeping your area clear also encourages regular checks on battery lifespan, so you replace batteries before they fail unexpectedly. Additionally, an organized environment makes it easier to identify water park attractions or other relevant items nearby that might distract or delay your task. With minimal clutter, you’ll efficiently swap batteries in just minutes, ensuring your remote stays reliable and your entertainment continues uninterrupted.
Remove the Remote’s Back Cover Safely

Before removing the back cover, make certain you have the right tools, like a small screwdriver or plastic prying tool. Always follow safety precautions to avoid damaging the remote or hurting yourself. Taking these steps guarantees a smooth and safe battery replacement process. Additionally, ensuring proper alignment during reassembly helps maintain the remote’s functionality and longevity.
Use Proper Tools
To safely remove the remote’s back cover, you need to use the proper tools designed for this task. Using the right tools guarantees you don’t damage the remote or compromise battery compatibility. Before starting, check that your tools are in good condition—well-maintained tools make the process easier. For removal, gather:
- A small flat-head screwdriver or plastic pry tool
- Tweezers for handling small components
- A soft cloth to protect surfaces
- A container to keep screws organized
Using the correct tools minimizes the risk of scratching or cracking the remote. Proper tool maintenance keeps them effective for future tasks. Remember, a well-chosen tool makes all the difference in removing the back cover safely and efficiently. Additionally, understanding safety precautions can help prevent accidents during the process.
Follow Safety Precautions
Make certain your remote is powered off and unplugged if connected to a device. Battery safety is vital during this process, so handle tools carefully to avoid damage or injury. Before removing the back cover, confirm your workspace is clean and well-lit. Use the appropriate tools to avoid slipping or damaging the remote. Here’s a visual to guide your tool handling:
| Proper Handling | Risk of Damage |
|---|---|
| Use plastic pry tools | Applying excessive force |
| Hold covers gently | Short circuits or battery leaks |
| Keep your fingers clear | Damaging internal components |
| Work on a stable surface | Mishandling or dropping |
Following safety precautions minimizes risks, protects your device, and guarantees a smooth battery replacement. Additionally, practicing proper tool handling enhances safety and efficiency during the process.
Locate and Remove the Old Batteries
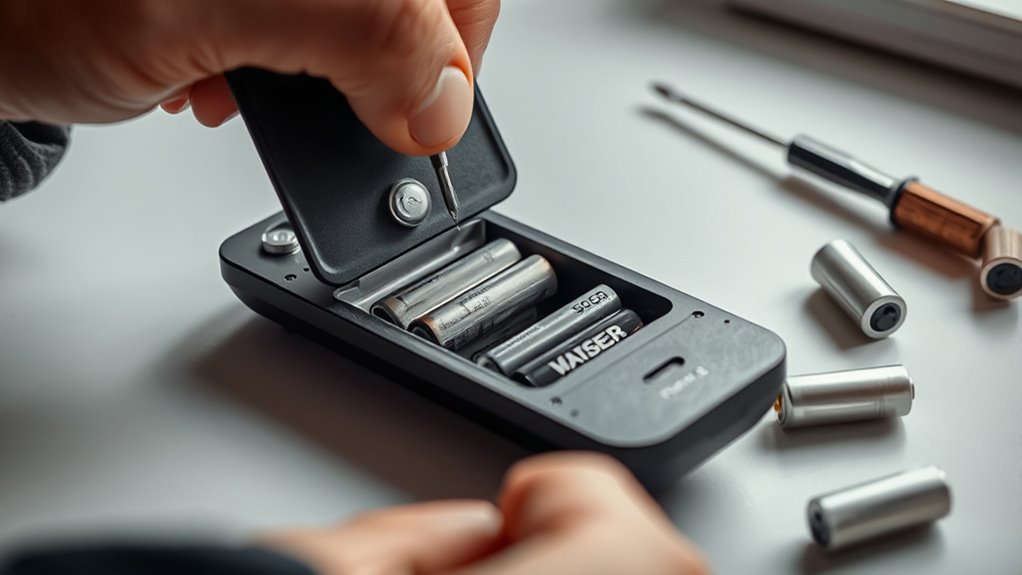
Locating the old batteries is the first step in the replacement process, so it’s important to identify where they’re housed. Most remotes have a small compartment on the back or underside, often secured with a screw or latch. Once open, you’ll see the batteries nestled inside. Carefully remove the old batteries, avoiding damage to the compartment or contacts. Keep track of the battery orientation to ensure proper placement later. Proper battery disposal is essential—never throw them in regular trash; recycle them at designated facilities. During remote maintenance, handle batteries gently to prevent leaks or damage. Visualize lifting the cover, sliding out the old batteries, and preparing for fresh replacements, all while maintaining safety and environmental responsibility. Vetted – The Pinball Spot
Clean Battery Contacts if Needed
After removing the old batteries, take a moment to inspect the contacts inside the compartment. Over time, battery corrosion can develop, leaving a white or greenish residue that hampers electrical flow. If you notice corrosion or dirt, contact cleaning is necessary. Use a small brush, a cotton swab, or a cloth dampened with a mixture of baking soda and water to gently scrub away corrosion. Be careful not to damage the contacts. Once clean, wipe the area with a dry cloth to remove any residual moisture. Proper contact cleaning ensures a solid connection between the batteries and the remote, preventing issues like signal loss or power failure. Taking this small step can save you time and frustration during the overall battery replacement process. Additionally, understanding celebrity lifestyle insights can inspire you to create a more personalized and stylish space for your remote areas.
Insert New Batteries Correctly

To guarantee your remote functions properly, inserting the new batteries in the correct orientation is essential. Pay attention to the battery orientation markings inside the compartment—usually a plus (+) and minus (–) sign. Carefully align the batteries, ensuring the positive end matches the plus sign and the negative end lines up with the minus sign. Visualize the following:
Ensure proper remote function by aligning batteries with the + and – marks inside the compartment.
- The positive terminal facing the + symbol
- The negative terminal lining up with the – sign
- Batteries fitting snugly without forcing
- Correct placement preventing power issues
Once inserted, remember proper battery disposal—never toss old batteries in the trash. Instead, recycle them at designated collection points. Proper placement and disposal ensure your remote works reliably and helps protect the environment. Additionally, using fresh batteries can improve the remote’s overall performance and longevity.
Secure the Remote’s Back Cover
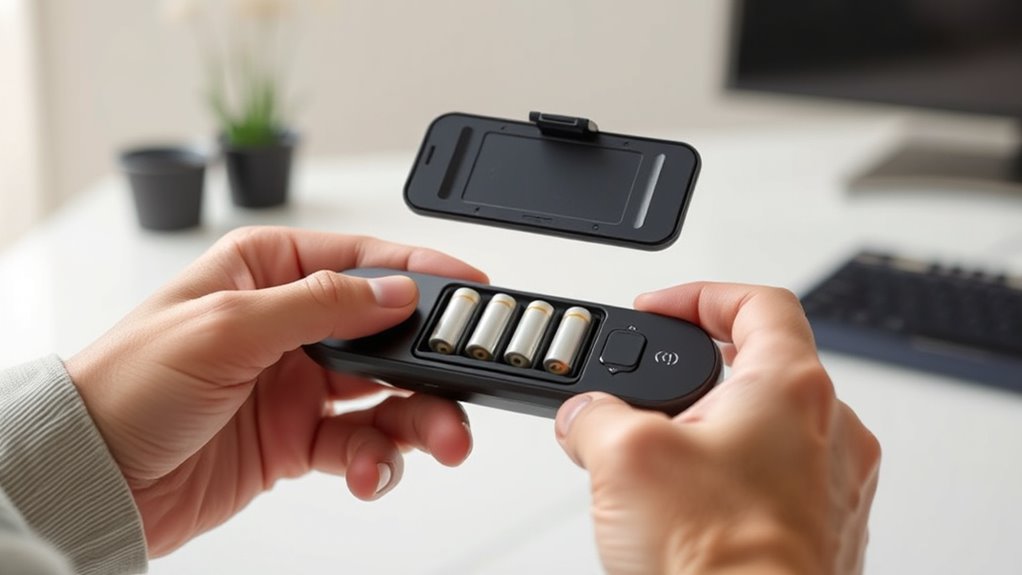
To secure the back cover properly, start by using a pry tool to gently lift it away. Be careful when removing the cover to avoid damaging any clips or tabs hidden inside. Once the cover is off, double-check for any hidden clips before snapping it back into place securely.
Use a Pry Tool
Using a pry tool is the easiest way to open the remote’s back cover safely. It helps avoid damage during your remote repair process. Gently insert the pry tool into the small gap along the edge of the remote. Feel the tension release as the cover begins to lift. Once inserted, carefully work around the perimeter, applying light pressure to avoid cracking the plastic. Visualize the process with these images:
- Sliding the pry tool smoothly into the seam
- Feeling the slight click indicating the cover is loosening
- Running the tool along the edge to release clips
- Lifting the cover evenly without forcing
This technique ensures you keep the remote intact and ready for battery replacement. A proper pry tool makes remote repair quick, safe, and damage-free.
Remove Back Cover Carefully
Once you have inserted the pry tool and loosened the back cover, carefully lift it away from the remote. During remote cover removal, take your time to avoid applying too much force, which could damage the clips or internal components. Keep a firm grip and lift slowly to maintain back cover safety. Check for any remaining clips or tabs before fully removing the cover to prevent breakage. If resistance is felt, gently wiggle the cover rather than forcing it. Remember, a cautious approach helps prevent damage and makes reassembly easier. Removing the back cover with care ensures your remote stays intact and ready for battery replacement. Patience during this step minimizes the risk of damaging the remote and guarantees a smooth battery replacement process.
Check for Hidden Clips
Even after loosening the back cover, it’s important to check for any hidden clips or tabs that might still be securing it in place. These hidden clips are often small, plastic arrows or hooks nestled around the battery compartment. You might feel slight resistance when gently trying to lift the cover. To avoid damage, look carefully for:
- Small indents or notches along the edges
- Slightly raised tabs that snap into place
- Tiny clips that lock the back cover securely
- Hidden latches near the corners
Use a plastic opening tool or your fingernail to gently release these clips. Confirm there are no remaining fasteners before lifting the remote’s back cover completely. This ensures easy access to the battery compartment without breaking any clips.
Test the Remote for Proper Functionality

After replacing the batteries, it’s essential to verify that the remote functions correctly. Turn on your device and press several buttons to confirm responsiveness. If the remote doesn’t work, consider remote troubleshooting steps like cleaning the contacts or resetting the device. Check the battery lifespan, since old or low-quality batteries can cause issues. Use the table below to test different functions:
| Button | Response Needed | Troubleshooting Tips |
|---|---|---|
| Power | Device turns on/off | Replace batteries if unresponsive |
| Volume | Volume adjusts properly | Check for interference |
| Channel | Channels change smoothly | Clean remote sensor |
Ensuring proper functionality prevents future problems and confirms your remote is ready for regular use.
Store Spare Batteries for Future Use

Storing spare batteries properly guarantees you’re always prepared for future replacements. Good battery storage prevents leaks, corrosion, and power loss, ensuring your spares stay fresh. Keep spare battery maintenance simple by placing them in a cool, dry place away from direct sunlight. Use a designated storage container to organize your extras and prevent damage. Label batteries with purchase dates to monitor their lifespan. Avoid storing batteries near metal objects or in humid areas, which can cause corrosion. Consider investing in a small, dedicated battery case for protection. Regularly check stored batteries for signs of deterioration, replacing any that show corrosion or leakage. Proper storage not only extends battery life but also guarantees quick, reliable replacements when needed.
Frequently Asked Questions
Can I Replace Batteries in All Remote Types With the Same Method?
You can’t replace batteries in all remote types with the same method because of universal compatibility and battery type identification. Different remotes may require specific tools or battery sizes, so always check your remote’s manual or look for markings to identify the correct battery type. While some remotes share similar batteries, always verify compatibility first to avoid damage or malfunction during replacement.
How Do I Know if My Remote Requires Rechargeable or Disposable Batteries?
You can determine if your remote needs rechargeable or disposable batteries by checking the battery compartment or the user manual for specific battery type recommendations. Look for labels that specify “battery type” or “remote compatibility.” If it’s not clear, consider the remote’s age and usage frequency—high-use remotes often benefit from rechargeable batteries. Always choose the correct battery type to guarantee the best performance and avoid damage.
What Should I Do if the Remote Still Doesn’t Work After Replacing the Batteries?
Sometimes, troubleshooting issues involves more than just swapping batteries. If your remote still doesn’t work, double-check the battery compatibility to guarantee you used the right type. Try cleaning the battery contacts and resetting the remote. If problems persist, consider testing the remote with a different set of batteries or consulting the user manual. These steps can help you identify if the issue is with the remote itself or the batteries.
Are There Safety Precautions for Handling Leaking or Corroded Batteries?
If you find leaking or corroded batteries, always wear protective gloves to prevent skin contact with harmful chemicals. Handle the batteries carefully and dispose of them properly at a designated battery disposal site. Avoid touching your face or eyes during removal. After disposal, wash your hands thoroughly. Taking these safety precautions helps prevent chemical burns or injuries from corrosive materials, ensuring your safety during battery maintenance.
How Often Should I Replace Remote Batteries to Maintain Optimal Performance?
You should replace your remote batteries every 6 to 12 months to maintain peak performance. Battery lifespan varies depending on usage and the type of batteries, but regular replacement prevents weak signals and device malfunctions. Keep an eye on signs like reduced range or delayed responses. By sticking to this replacement frequency, you guarantee your remote stays responsive and reliable, avoiding the inconvenience of sudden power loss.
Conclusion
Now that you’ve replaced your remote’s batteries in just 15 minutes, you’re all set to enjoy uninterrupted entertainment. With the right tools and a little know-how, quick fixes like this become second nature. Imagine how many moments you’ll save next time a remote needs a boost—no more fumbling or frustration. So, why wait for a technician when you can master this simple task yourself and keep your devices humming smoothly?