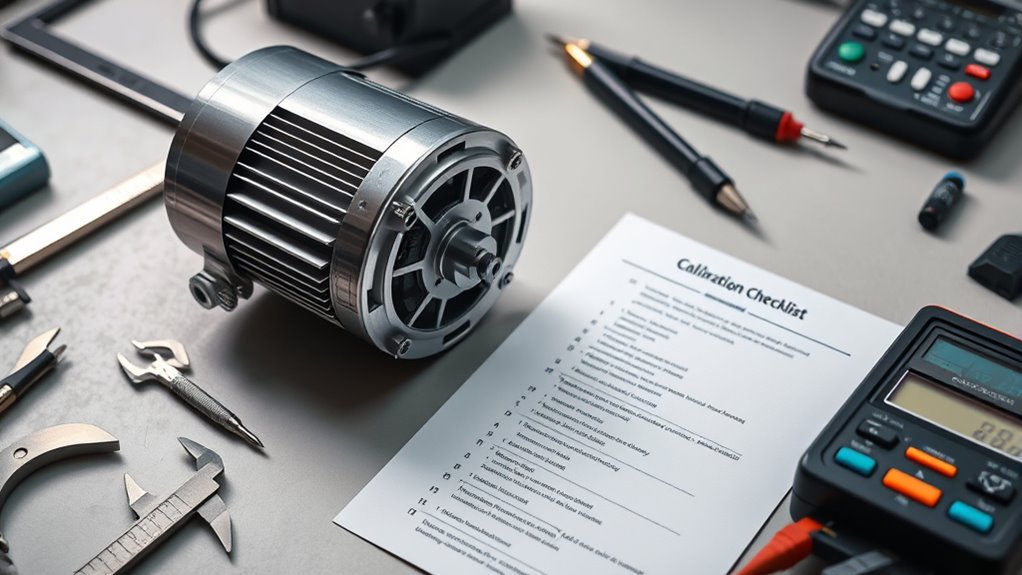

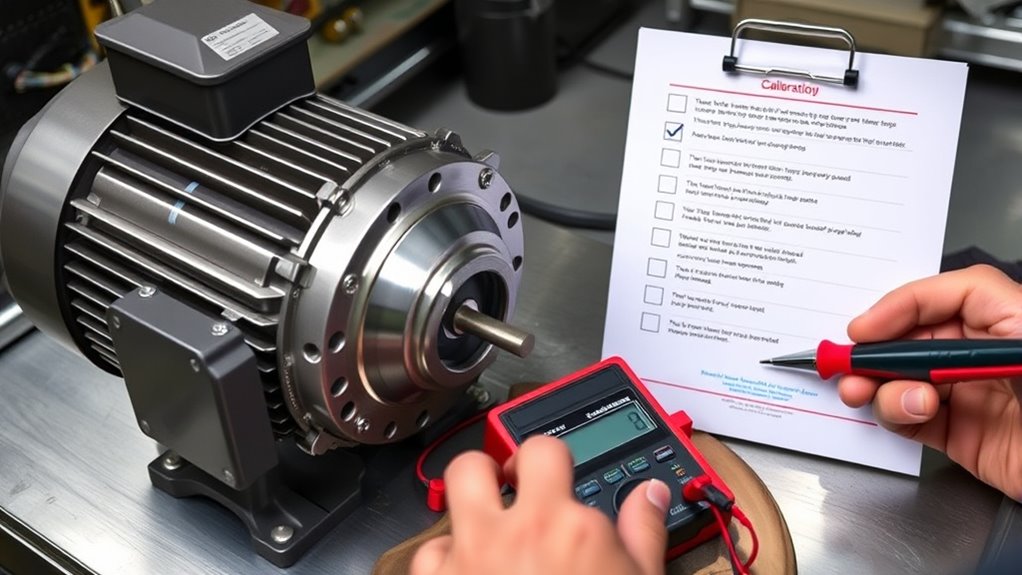
Before starting motor calibration, guarantee your power supply is stable, and all connections are secure. Confirm safety protocols are in place, including PPE and accessible emergency equipment. Verify calibration tools and measurement devices are accurate and functioning properly. Inspect the motor and controller for any damage or wear. Prepare your workspace, organize tools, and document current settings for reference. Following these essential steps sets a solid foundation, and if you continue, you’ll learn more about detailed calibration procedures.
Key Takeaways
- Verify power supply stability and ensure all electrical connections are secure and properly insulated.
- Confirm calibration tools and measurement devices are accurate, functional, and up-to-date.
- Inspect motor and controller wiring for damage, corrosion, or loose connections before beginning calibration.
- Review safety protocols, safety devices, and ensure the work area is well-ventilated and clutter-free.
- Document current motor parameters, sensor alignments, and software versions for baseline reference.
Verify Power Supply and Connections
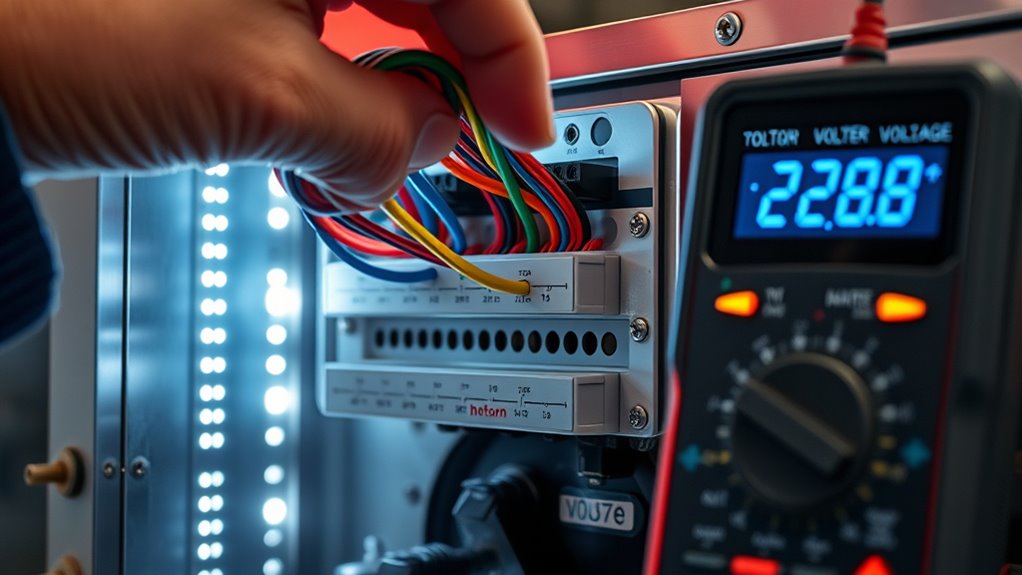
Before beginning the calibration process, you need to make certain the power supply and connections are secure. Power stability is essential for accurate calibration, so check that the power source provides a consistent voltage without fluctuations. Ensure all cables and connectors are firmly attached, avoiding loose or frayed wires that could cause interruptions. Connection security is critical; loose connections can lead to erratic motor behavior or inaccurate readings. Turn off the power before inspecting connections, then power back on after confirming everything is tight and properly seated. By verifying the integrity of your power supply and securing all connections, you minimize risks of calibration errors caused by electrical issues. Ensuring AI security measures are in place can further protect your calibration setup from potential vulnerabilities. Taking these steps ensures your motor calibration starts on a solid, reliable foundation.
Ensure Proper Safety Precautions Are in Place
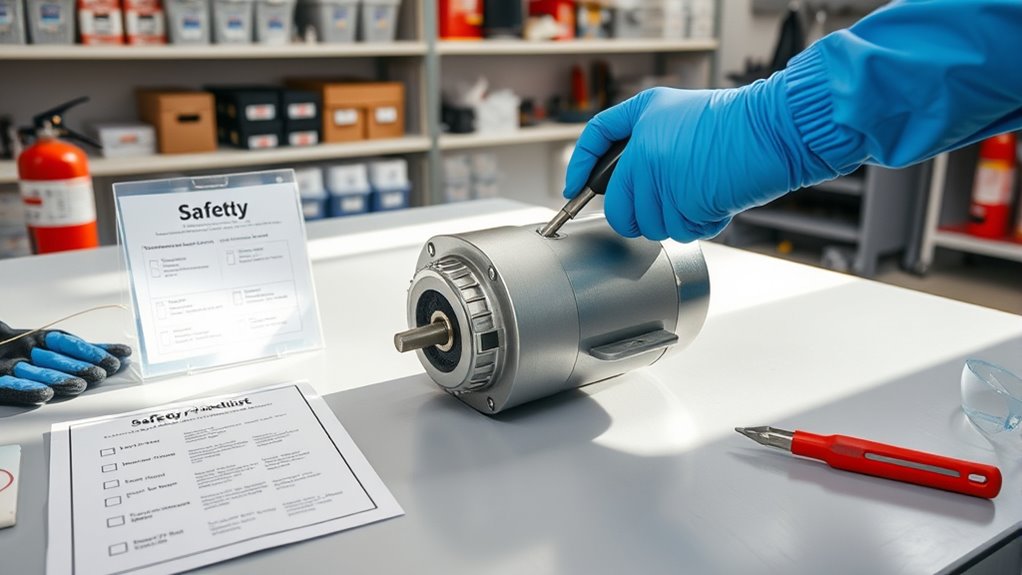
Ensuring proper safety precautions are in place is essential to prevent accidents and protect both personnel and equipment during motor calibration. Start by reviewing fire safety protocols, ensuring fire extinguishers are accessible and personnel know emergency procedures. Address environmental hazards like leaks, spills, or exposure to toxic substances, and eliminate any risks before proceeding. Make sure the work area is well-ventilated and free of clutter to prevent trips or falls. Use appropriate personal protective equipment, such as gloves and eye protection. Confirm that all safety devices, like emergency shutoffs and alarms, are operational. Conducting a thorough risk assessment helps identify potential hazards and ensures all necessary precautions are in place. Taking these steps minimizes the risk of injury or damage, ensuring a safe environment for everyone involved in the calibration process.
Confirm Calibration Equipment Is Calibrated and Functioning

Start by verifying that all calibration equipment is properly calibrated and functioning correctly. This step ensures accurate motor vibration readings and reliable temperature monitoring. Check that vibration sensors are responsive and calibrated to industry standards. Confirm that temperature sensors provide consistent, precise readings. Use the table below to visualize the equipment status:
| Equipment | Status |
|---|---|
| Vibration sensors | Calibrated, responsive |
| Temperature sensors | Accurate, functioning properly |
| Data loggers | Recording correctly |
| Signal analyzers | Providing clear, stable data |
Ensuring each piece is in top shape prevents errors during calibration, saving time and avoiding costly mistakes. Properly functioning equipment is essential for accurate motor calibration. Additionally, verifying that all sensors meet industry standards enhances calibration accuracy.
Check Motor Specifications and Documentation

To guarantee accurate motor calibration, you need to verify that the motor’s specifications and documentation match the equipment and application. Check the motor’s rated torque, speed, voltage, and current ratings against the manufacturer’s documentation. Ensuring these parameters align helps maintain calibration accuracy and prevents mismatched performance. Confirm that the motor’s torque capacity meets your operational requirements to avoid underperformance or overload issues. Review the datasheets, manuals, and labels for critical details, and verify that the motor’s model number corresponds with your setup. Precise documentation ensures you’re calibrating the correct parameters, reducing errors and enhancing overall calibration quality. This step is essential for preventing discrepancies that could compromise motor performance and calibration precision. Additionally, understanding the cybersecurity vulnerabilities associated with motor control systems can help protect against potential cyber threats during calibration processes.
Inspect Motor and Controller for Physical Damage
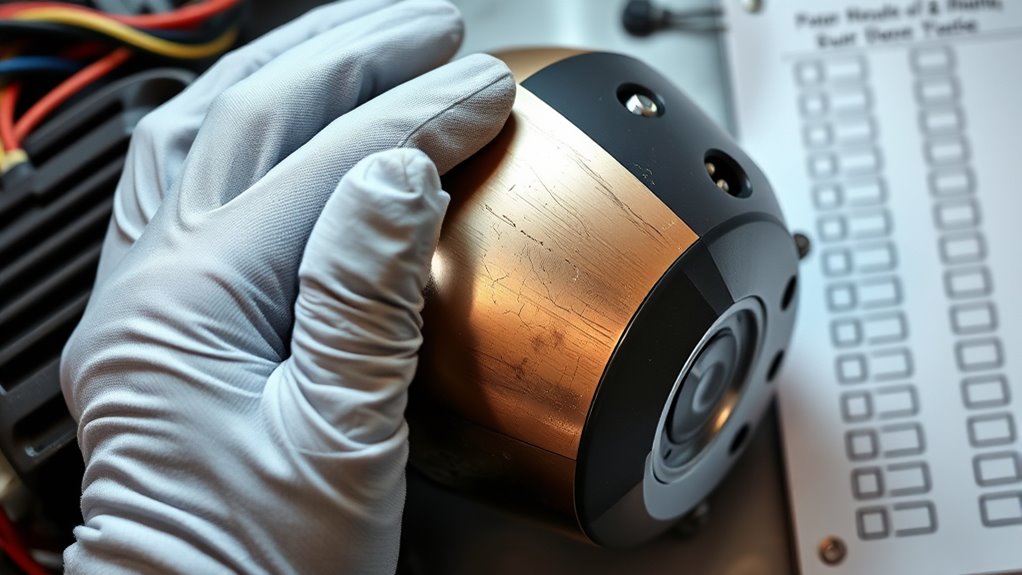
Start by examining the motor wiring for any signs of wear, fraying, or loose connections. Next, check the controller housing for cracks, corrosion, or other damage that could impact performance. Addressing these issues early helps guarantee safe and reliable operation of your motor system. Additionally, inspecting electrical specifications ensures compatibility and optimal functioning.
Inspect Motor Wiring Condition
Before operating the motor, it’s vital to carefully inspect the wiring for any signs of physical damage. Conduct a thorough wiring inspection to identify cuts, abrasions, or burns that could compromise performance. Pay close attention to connector integrity, making sure all connections are secure and free from corrosion or looseness. Look for frayed wires or exposed conductors that might cause shorts or faults. Check for melted insulation or scorch marks around connectors or wiring harnesses, indicating overheating. Confirm that all plugs and terminals are firmly seated and undamaged. Proper wiring inspection helps prevent unexpected failures and guarantees reliable operation. Address any issues before powering up, as damaged wiring can lead to motor malfunctions or safety hazards. Understanding electrical safety principles is essential to prevent accidents during inspection.
Check Controller Housing Integrity
Inspect the motor and controller housing carefully for any signs of physical damage, such as cracks, dents, or warping. Damaged housings can compromise housing stability, increasing the risk of component failure or safety issues. Verify that the housing is securely mounted and shows no signs of looseness or misalignment. Check for corrosion, which can weaken the housing and hinder corrosion prevention efforts. Look for rust, discoloration, or residue that might indicate moisture ingress or material degradation. Maintaining a stable, intact housing protects internal components from dust, dirt, and moisture, extending their lifespan. Address any damage immediately to prevent further deterioration, ensuring your motor and controller operate reliably and safely. Proper housing integrity is essential before calibration begins.
Review Calibration Procedures and Manufacturer Guidelines
Reviewing calibration procedures and manufacturer guidelines is essential to guarantee your motor calibration process is accurate and compliant. By understanding these protocols, you ensure sensor alignment is precise, reducing errors. It’s also critical to stay current with software updates, which often include calibration improvements and bug fixes. Familiarize yourself with recommended steps, such as verifying sensor positions and following specific calibration sequences. Neglecting these guidelines can lead to misaligned sensors or outdated calibration methods, impacting motor performance. Keep a checklist of manufacturer recommendations handy to avoid missing key procedures. Regular review of these guidelines helps you stay informed about new calibration techniques and software features, ensuring your motor remains calibrated to the highest standards. Proper adherence ultimately minimizes downtime and enhances system reliability. Additionally, understanding emotional support strategies can help address any stress or frustration that may arise during complex calibration tasks.
Prepare Necessary Tools and Software
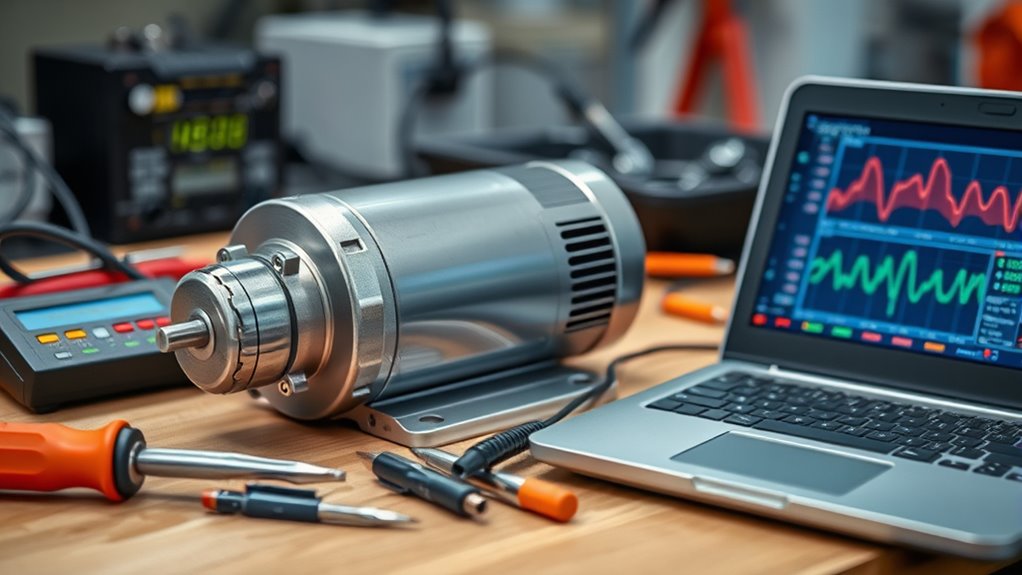
Having the right tools and software ready is essential for a smooth motor calibration process. Guarantee you have precise measurement devices, such as torque wrenches, and calibration software with the latest updates. Outdated software can cause inaccuracies, especially when fine-tuning motor torque. Here’s a quick checklist to keep you on track:
| Tool/Software | Purpose | Status |
|---|---|---|
| Torque meter | Measure motor torque accurately | Ready/In progress |
| Calibration software | Adjust and monitor calibration | Software updated |
| Data collection device | Record calibration data | Confirmed |
Double-check these before starting to avoid delays and ensure your calibration is precise and reliable.
Set Up a Clear Calibration Workspace

To guarantee accurate calibration results, setting up a dedicated, clutter-free workspace is essential. A well-organized workspace improves efficiency and minimizes errors during calibration. Start by clearing your area of unnecessary tools or debris, ensuring only essential items remain. Use the calibration checklist to verify all required equipment is within reach and properly functioning. Arrange your workspace so that your tools, calibration devices, and manuals are neatly stored and easily accessible. Good workspace organization reduces distractions and streamlines the process, helping you stay focused. Keep cables tidy and label key components for quick identification. A clean, orderly environment ensures precise measurements and smoother workflow, ultimately leading to more reliable calibration outcomes. Additionally, maintaining a clean environment helps prevent contamination that could affect calibration accuracy.
Document Current Settings and Baseline Data

Why is it essential to document current settings and baseline data before making adjustments? Recording sensor alignment, motor parameters, and software versions helps you track changes, troubleshoot issues, and guarantee consistent calibration. It provides a reference point if you need to revert settings or compare performance after updates. This step minimizes errors and saves time during troubleshooting. Additionally, understanding the benefits of yoga can help you stay motivated to maintain proper calibration routines.
Frequently Asked Questions
How Often Should Motor Calibration Be Performed?
You should perform motor calibration regularly, typically following your maintenance schedule. Calibration frequency depends on how often the motor runs and the operating conditions, but a good rule of thumb is to check every 6 to 12 months. Regular calibration guarantees peak performance, prevents unexpected failures, and maintains accuracy. Always adhere to manufacturer recommendations and adjust your maintenance schedule accordingly to keep your motor running smoothly and efficiently.
What Are Common Signs Indicating Calibration Is Needed?
You’ll notice calibration is needed when sensor accuracy declines, causing inconsistent motor performance or unexpected errors. If you see fluctuating readings or the motor isn’t responding as expected, it’s a sign to check calibration frequency. Regularly monitor sensor outputs and compare them to known standards. When discrepancies emerge, it’s time to recalibrate to maintain peak performance and guarantee your motor operates reliably.
Can Calibration Be Performed Without Manufacturer Tools?
You can perform calibration without manufacturer tools by using alternative methods, but it’s not always recommended. Many calibration software options are available that can help you adjust motor settings accurately. These tools often provide user-friendly interfaces and guidance, making calibration accessible even without specialized equipment. However, verify that your chosen software is compatible with your motor and follow proper procedures to avoid errors or damage during the calibration process.
What Safety Gear Is Recommended During Calibration?
Safety should always come first, so gear up properly before calibration. You’ll want to wear protective eyewear to guard against flying debris or sparks and gloves to protect your hands from sharp edges or hot surfaces. Don’t let safety fall by the wayside—think of it as keeping your wits about you. By taking these precautions, you keep yourself safe and ensure the calibration process goes smoothly.
How to Troubleshoot Calibration Discrepancies Effectively?
To troubleshoot calibration discrepancies effectively, start by checking sensor alignment, ensuring all sensors are correctly positioned and functioning properly. Next, review torque adjustment settings to confirm they match manufacturer specifications. If issues persist, recalibrate the sensors, and verify connections are secure. Document any changes, test the motor again, and compare results to expected values. This systematic approach helps identify and resolve calibration errors efficiently.
Conclusion
By following this checklist, you ensure your motor calibration is accurate and reliable. Did you know that improper calibration can lead to up to 20% efficiency loss? Taking these simple steps helps prevent costly errors and extends your motor’s lifespan. Stay vigilant, double-check every step, and keep detailed records. Proper calibration isn’t just best practice—it’s essential for peak performance and safety. Don’t skip these steps; your equipment—and your results—depend on it.