
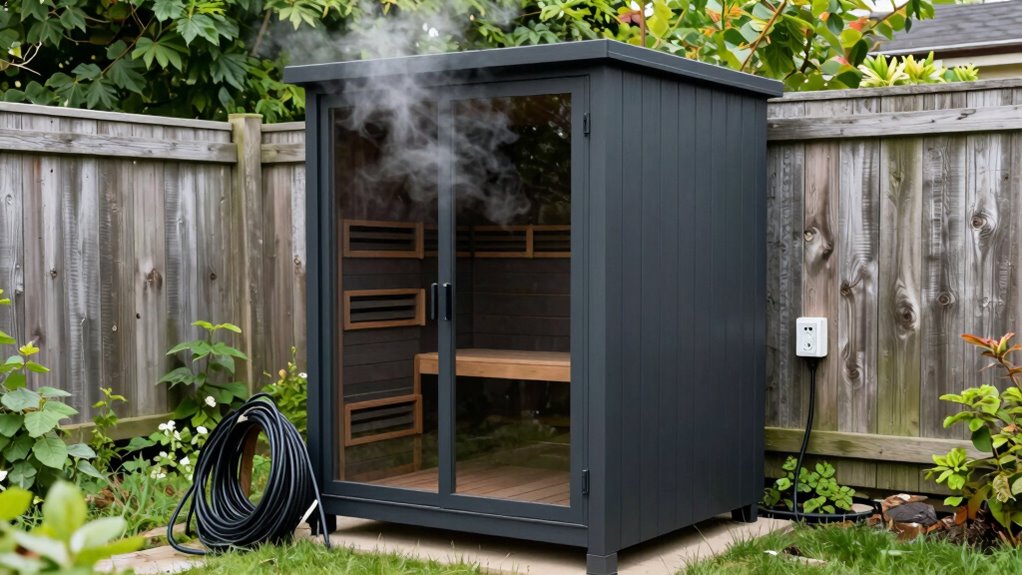
To avoid sauna placement mistakes, you need to plan ventilation and power access carefully. Position vents near the floor for fresh air intake and near the ceiling for humid air exhaust to guarantee proper airflow. Make sure outlets are accessible, meet electrical codes, and are close to the sauna for easy wiring. Overlooking these details can cause humidity issues, electrical problems, and shorten your sauna’s lifespan. Keep going to learn more about creating a safe, efficient setup.
Key Takeaways
- Proper placement ensures accessible electrical outlets and ventilation pathways to prevent wiring issues and humidity buildup.
- Locate vents and power sources to promote optimal airflow and easy maintenance, avoiding obstructions.
- Avoid placing the sauna in areas prone to moisture, temperature fluctuations, or physical stress to prolong durability.
- Verify electrical capacity and wiring requirements early to prevent overloads and ensure code compliance.
- Conduct pre-installation testing of ventilation and electrical systems to identify and resolve potential issues before completing setup.

Vindar Sauna Room Air Vent 3.74" Round Red Cedar Wooden Sauna Adjustable Exhaust Air Ventilation for Barrel Sauna, Sauna Room, Steam Room Exhaust Ventilation
The Wooden air vent was made of premium quality Canadian red cedar wood without resin, stain or sealer,…
As an affiliate, we earn on qualifying purchases.
As an affiliate, we earn on qualifying purchases.
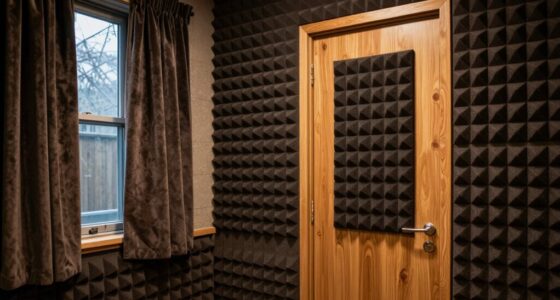
Why Proper Sauna Placement Is Key for Safety and Longevity
Proper sauna placement is essential because it directly affects both safety and the lifespan of your unit. Choosing the right spot involves considering material selection, ensuring the area can handle the heat and moisture without damage. Opt for durable, moisture-resistant materials to prevent warping or deterioration over time. Aesthetic considerations also matter; placing your sauna where it complements your outdoor or indoor design enhances your space’s appeal. Proper placement minimizes potential hazards like water leaks or electrical issues, which can compromise safety. Additionally, it helps maintain the sauna’s structural integrity, preventing premature wear. Ensuring proper ventilation is crucial for reducing humidity and preventing mold growth inside and around your sauna. Good airflow design can also improve energy efficiency by maintaining consistent temperature levels. Incorporating proper electrical wiring and power access planning is vital to avoid overloads or safety hazards. By carefully selecting an appropriate location, you protect your investment and create a safe, inviting environment for relaxation. Always prioritize quality materials and visual harmony when planning your sauna’s placement. Considering site-specific conditions, such as shade, wind exposure, and drainage, can further optimize your sauna’s performance and longevity. Additionally, understanding moisture management techniques can help prevent long-term damage and ensure a durable installation.

Intermatic WP3100C Weatherproof Electrical Outlet Cover – Extreme Temperature Resistance, Heavy-Duty Construction, Versatile Design & Multi-Configurable, Easy Install, Secure Fit for Outdoor in-Use
WEATHERPROOF – Meets UL Type 3R outdoor enclosure standards and complies with 2020 NEC Article 314.15 for damp…
As an affiliate, we earn on qualifying purchases.
As an affiliate, we earn on qualifying purchases.
How to Choose the Best Location for Your Sauna

Choosing the right spot for your sauna starts with evaluating your space and understanding your needs. Consider how much room you have for decorative finishes that enhance aesthetics and durability. Think about placement convenience for sauna accessories like towels, robes, and water buckets. Opt for a location with easy access to electrical outlets and proper ventilation to prevent moisture buildup. Avoid tight corners or areas prone to temperature fluctuations, which can harm your sauna’s structure and performance. A well-chosen spot ensures the sauna remains a relaxing retreat while minimizing maintenance issues. Keep in mind that the location should complement your outdoor or indoor decor, blending seamlessly with your home’s style. Proper placement guarantees safety, longevity, and a more enjoyable sauna experience. Additionally, assessing ventilation needs and ensuring access to reliable power sources are crucial for safe and efficient sauna operation. Proper ventilation helps prevent moisture damage and maintains air quality inside the sauna space. Remember to also consider moisture control, as proper moisture management is essential for preserving both the sauna and surrounding areas. Incorporating smart home automation can help monitor and maintain optimal conditions automatically, enhancing your overall sauna experience.

Nordic Ways Premium Portable Sauna Rimmed Liner Tarp – PVC Vinyl Floor Protector – Black Waterproof – Leak Proof – Heat Weather Resistant Moisture Barrier for Sauna Use – Sauna Floor Protection
Superior moisture protection for all floor types
As an affiliate, we earn on qualifying purchases.
As an affiliate, we earn on qualifying purchases.
Common Mistakes in Sauna Ventilation and How to Avoid Them
Poor ventilation is a common mistake that can turn your sauna into a damp, uncomfortable space. Improper ventilation design leads to excess humidity, mold, and stale air, ruining your experience. To avoid this, verify your ventilation system is correctly planned with adequate intake and exhaust vents. Neglecting proper power wiring can also cause issues; overloaded circuits or poor connections may prevent fans from operating efficiently, worsening airflow problems. Keep these pitfalls in mind:
Poor ventilation leads to dampness, mold, and uncomfortable sauna conditions.
- Failing to incorporate balanced ventilation design tailored to your sauna size
- Ignoring the importance of proper power wiring for ventilation fans
- Overlooking the need for vent placement that promotes consistent airflow
- Additionally, understanding Feature Buddies can help you explore innovative ventilation solutions tailored to your sauna’s unique needs.
Address these mistakes early to maintain a dry, comfortable environment that enhances your sauna experience. Additionally, consider integrating smart ventilation systems that can automatically adjust airflow based on humidity and temperature levels for optimal comfort.
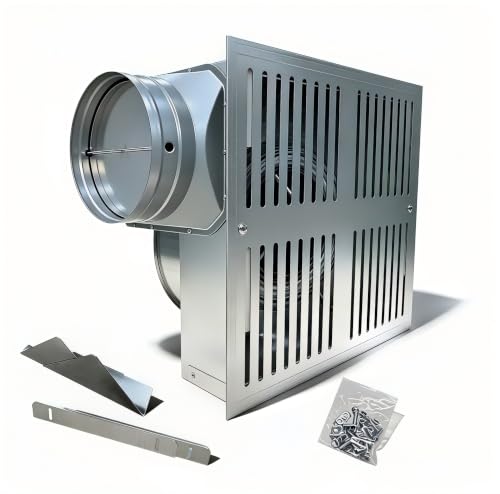
Hakazeni 200-230CFM Powerful bathroom exhaust fan, silent ceiling ventilation fan, easy to install, suitable for shower,Rooms Up to 200 Sq. Ft. sauna, laundry room
POWERFUL AND EFFICIENT VENTILATION – This exhaust fan features a high-performance motor to quickly remove moisture, steam and…
As an affiliate, we earn on qualifying purchases.
As an affiliate, we earn on qualifying purchases.
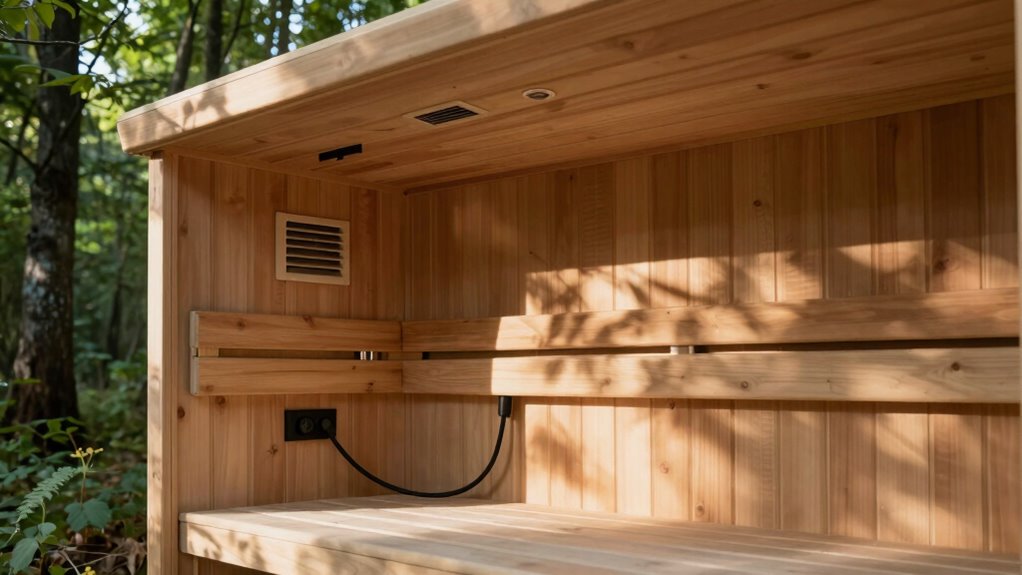
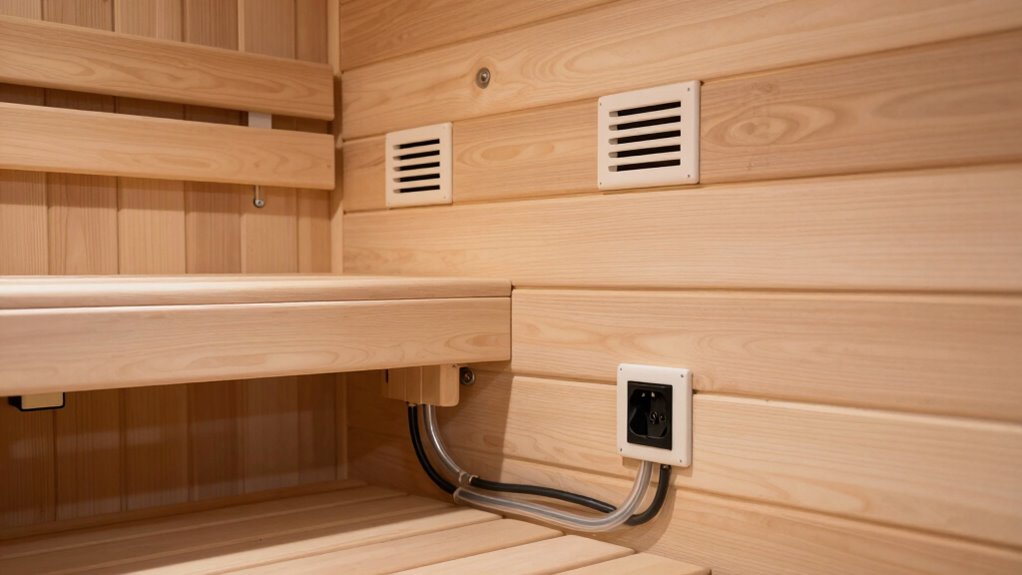
Where to Install Sauna Ventilation for Optimal Airflow

To achieve ideal airflow in your sauna, you need to carefully consider where to place your ventilation openings. Proper ventilation placement ensures airflow efficiency, preventing stuffiness and maintaining fresh air. Typically, install intake vents near the floor on one side of the sauna to draw in cool, oxygen-rich air. Exhaust vents should go near the ceiling on the opposite side to allow hot, stale air to escape naturally. This setup promotes a steady air circulation loop, keeping the environment comfortable and reducing humidity buildup. Additionally, ventilation system design plays a crucial role in optimizing airflow and ensuring safety. Make sure vents are unobstructed and positioned for unobstructed airflow. Proper ventilation placement is essential for maximum airflow efficiency, and it helps you enjoy a safer, more enjoyable sauna experience.
Electrical Wiring Tips for Safe Sauna Installation
Choosing the right wiring gauge is essential to guarantee your sauna operates safely and efficiently. You also need a dedicated circuit to prevent overloads and electrical hazards. Paying attention to these wiring tips helps protect your investment and keeps everyone safe. Proper circuit protection and regularly inspecting connections can prevent potential electrical failures and hazards. Incorporating proper grounding techniques is also crucial for preventing electrical shock and ensuring system stability. Ensuring compliance with electrical codes and standards is vital for long-term safety and performance. Remember that proper installation procedures are vital for long-term safety and performance.
Proper Wiring Gauge Selection
Selecting the correct wiring gauge is essential to guarantee your sauna operates safely and efficiently. Using the right wiring gauge ensures your circuit breakers can handle the load without tripping, preventing electrical hazards. Proper gauge selection also minimizes heat buildup and reduces fire risk. When choosing wiring gauge, consider the sauna’s wattage and current requirements. Remember, thicker wires carry more current safely and are suitable for high-power appliances. Avoid underestimating the importance of matching your wiring gauge to your circuit breakers to prevent overloads.
- Use thicker wiring gauge for higher wattage saunas
- Always match wiring gauge with circuit breaker ratings
- Consult electrical codes for safety compliance
Dedicated Circuit Requirements
Ensuring your sauna has its own dedicated circuit is essential for safe and reliable operation. Proper circuit planning helps prevent electrical safety hazards and overloads that could damage your system or pose fire risks. When installing the electrical wiring, verify that the circuit can handle the sauna’s power requirements, typically specified by the manufacturer. Avoid sharing circuits with other appliances, as this can cause voltage drops or tripping breakers. Use the appropriate breaker size and wiring gauge to guarantee safe operation under load. Always follow local electrical codes and consult a licensed electrician if you’re unsure. Incorporating proper wiring techniques and compliance with electrical standards ensures optimal safety and performance. Additionally, adequate circuit separation minimizes the risk of electrical interference and enhances overall safety. Proper circuit design is crucial for long-term reliability and safety. Selecting the right electrical components and ensuring proper installation can prevent potential hazards and extend the lifespan of your sauna. Dedicated circuits not only enhance safety but also promote consistent performance, giving you peace of mind and protecting your investment.
Planning Power Access to Prevent Rewiring Costs
To avoid costly rewiring later on, it’s essential to plan power access points early in your sauna installation. Proper planning guarantees you have enough outlets for lighting solutions, control panels, and any electrical accessories. Think about how your interior decor will influence outlet placement—sconces or LED lighting may need dedicated power sources. Consider future upgrades or additional features to prevent rewiring expenses down the line. Additionally, understanding net worth can help in budgeting for quality electrical components and professional installation, ensuring a safe and efficient setup. Being aware of cost estimates for electrical work can also aid in accurate budgeting and avoiding surprises during installation.
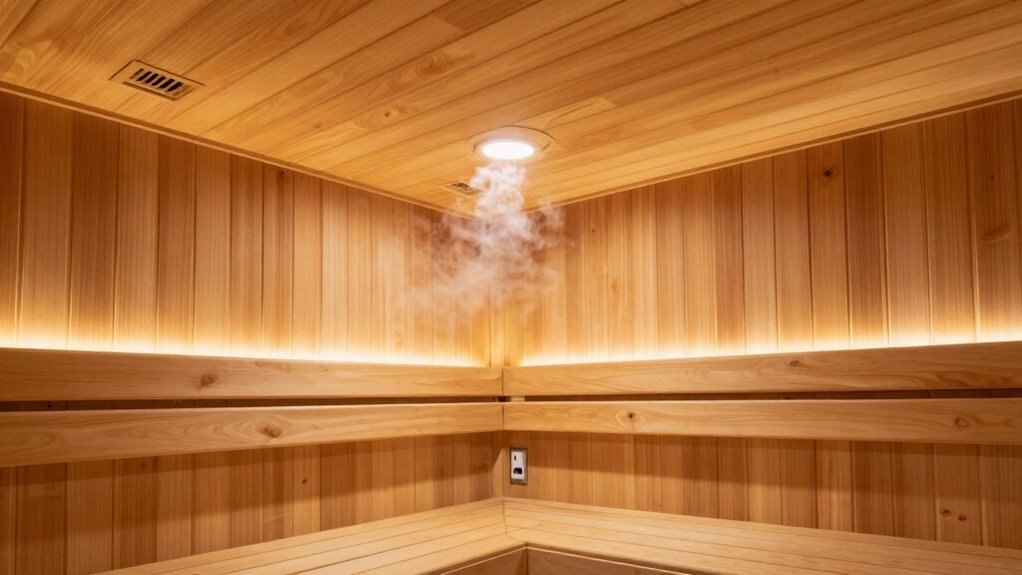
How to Check Your Sauna’s Ventilation and Power Setup Before Building
Before you start building your sauna, it’s important to verify that your ventilation and power setup are properly planned. Check that your ventilation system allows fresh air in and exhausts humid air efficiently, preventing mold and ensuring comfort. Confirm the power supply can handle your sauna’s electrical needs, especially if you plan to upgrade interior materials or sauna insulation later. Use this visual guide:
| Component | Placement Tips | Key Considerations |
|---|---|---|
| Ventilation vents | Near ceiling and floor for airflow | Proper airflow circulation |
| Power outlet | Close to heater, accessible | Adequate amperage, safety measures |
| Interior materials | Insulate walls, ceiling for heat retention | Compatibility with electrical setups |
Best Spots Near Power and Ventilation Points for Your Sauna
Choosing the right spot for your sauna means considering its proximity to power outlets and ventilation access points. Placing it near these guarantees easier installation and better airflow. Keep these points in mind to avoid future headaches and ensure safe, efficient operation.
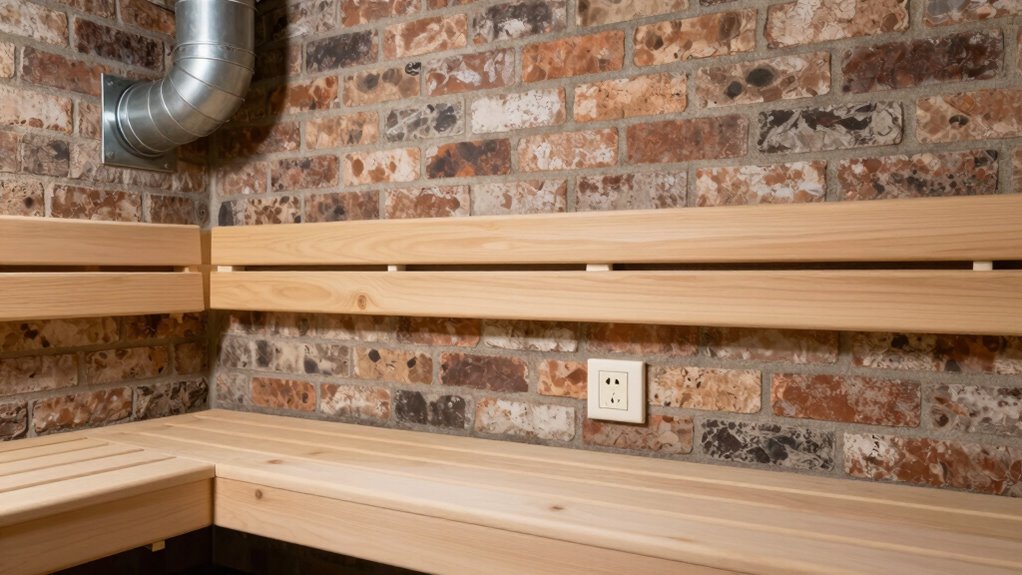
Proximity to Power Outlets
Placing your sauna near a power outlet is essential for easy installation and reliable operation. This proximity simplifies wiring and reduces hazards. When choosing the spot, consider how lighting placement will work best—closer outlets make installing ambient or task lighting easier. Wall material choices also matter; some materials require specific wiring setups or additional insulation, influencing outlet placement.
Here are key tips:
- Position the sauna near existing electrical outlets to minimize wiring complexity.
- Ensure outlets are accessible for future maintenance or upgrades.
- Keep outlets away from moisture-prone areas, but close enough for convenient lighting and heater connections.
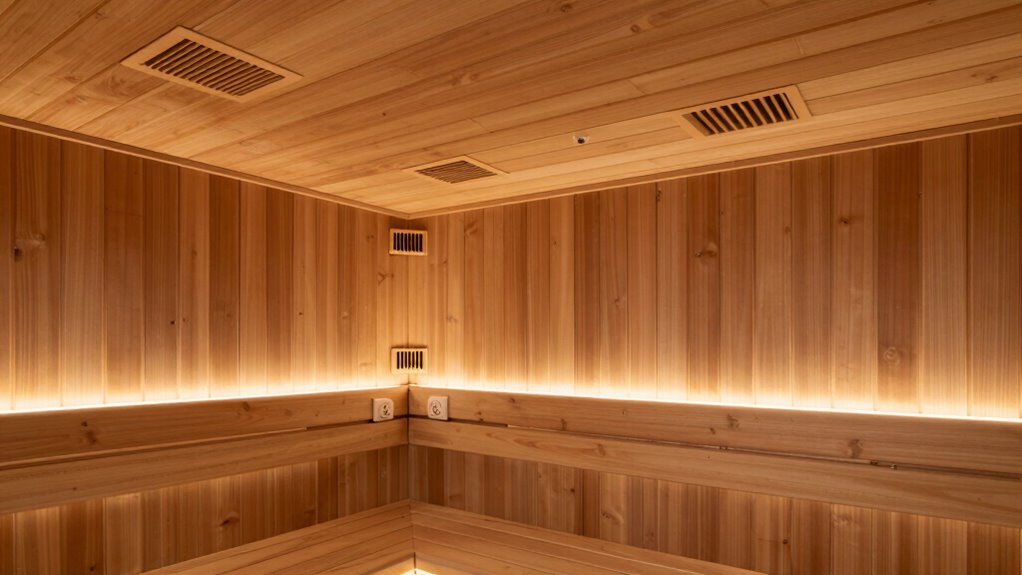
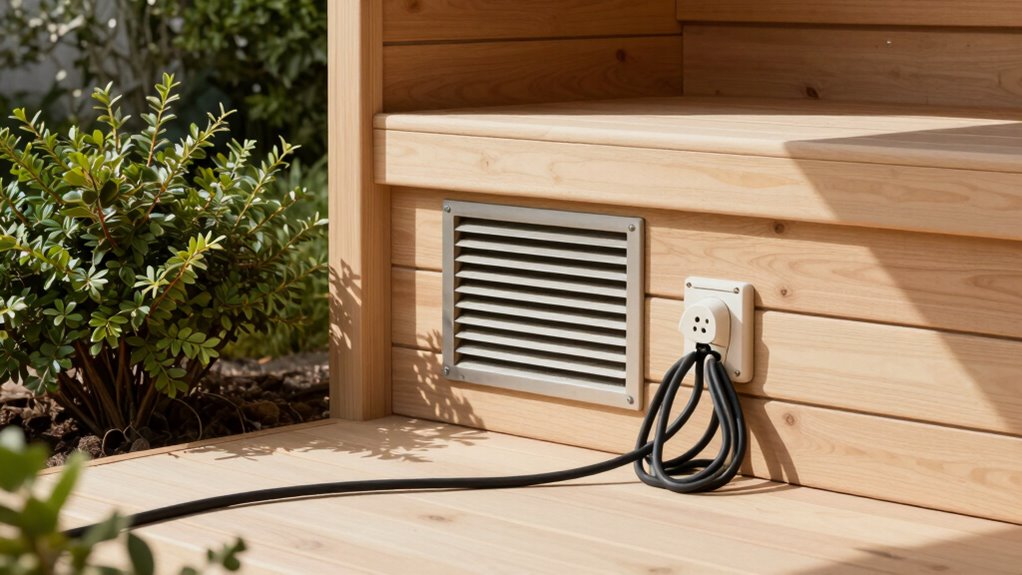
Ventilation Access Points
To guarantee your sauna operates efficiently and stays comfortable, it’s important to contemplate ventilation access points early in the setup. Position ventilation vents near power sources to simplify wiring and ensure proper airflow. This placement allows for seamless installation of decorative lighting that enhances ambiance without blocking airflow or access. Think about seating arrangements when planning ventilation; ensure vents are not obstructed by benches or seating areas, which can restrict airflow. Proper ventilation placement helps prevent moisture buildup and mold, keeping your sauna fresh. Also, locate vents where they won’t interfere with lighting fixtures or seating, optimizing both function and aesthetics. Prioritizing ventilation access near power and seating ensures your sauna remains comfortable, well-lit, and free of moisture issues.
Top Placement Pitfalls That Could Shorten Your Sauna’s Lifespan
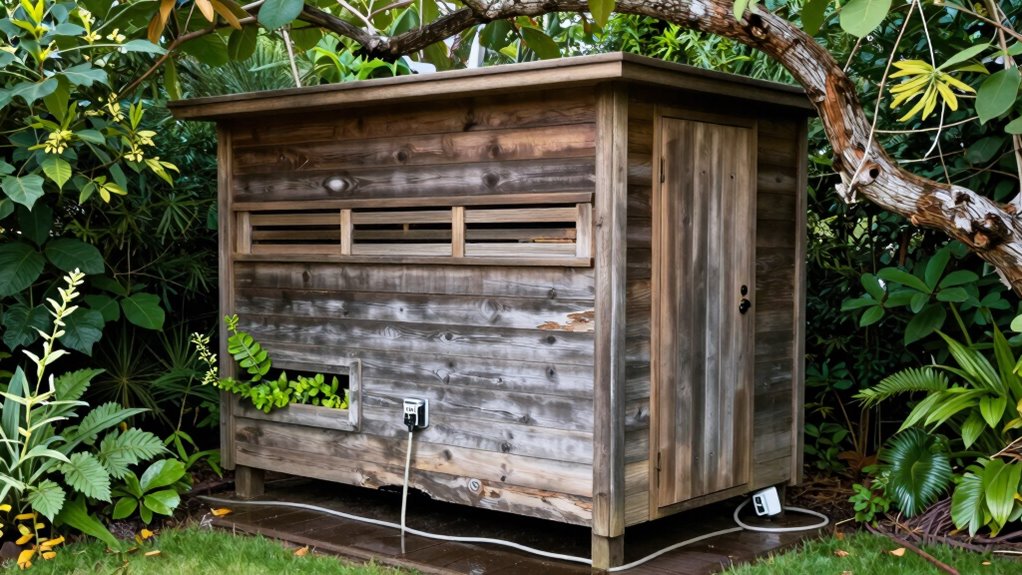
If you don’t carefully consider where to install your sauna, you risk exposing it to conditions that can accelerate wear and damage. Poor placement can lead to issues like moisture buildup, temperature fluctuations, or physical stress, all of which shorten its lifespan. To avoid this, pay attention to sauna material considerations and interior decoration tips that promote durability.
Be mindful of:
- Installing your sauna on a stable, level surface away from direct weather exposure
- Avoiding areas with high humidity or temperature swings
- Ensuring unobstructed access for ventilation and maintenance
Choosing the right location helps preserve your sauna’s structure and materials, keeping it functional and attractive longer. Proper placement is key to maximizing your investment and enjoying your sauna for years to come.
Step-by-Step Guide to Verifying Ventilation and Power Access
Before installing your sauna, you need to verify that ventilation pathways are clear and accessible. Make sure you can easily reach the power source and confirm it meets your sauna’s requirements. Finally, test the system to ensure compatibility and safe operation before completing the setup.
Check Ventilation Pathways
Ensuring proper ventilation pathways is essential for your sauna’s safe and efficient operation. You need to verify that airflow design is unobstructed and that ventilation channels are correctly positioned. Check that fresh air can enter and stale air can exit without resistance, preventing moisture buildup and mold.
- Inspect the placement of ventilation openings for proper airflow design
- Ensure ventilation channels are clear and free of debris
- Confirm there are no blockages that could disrupt airflow or cause uneven temperature distribution
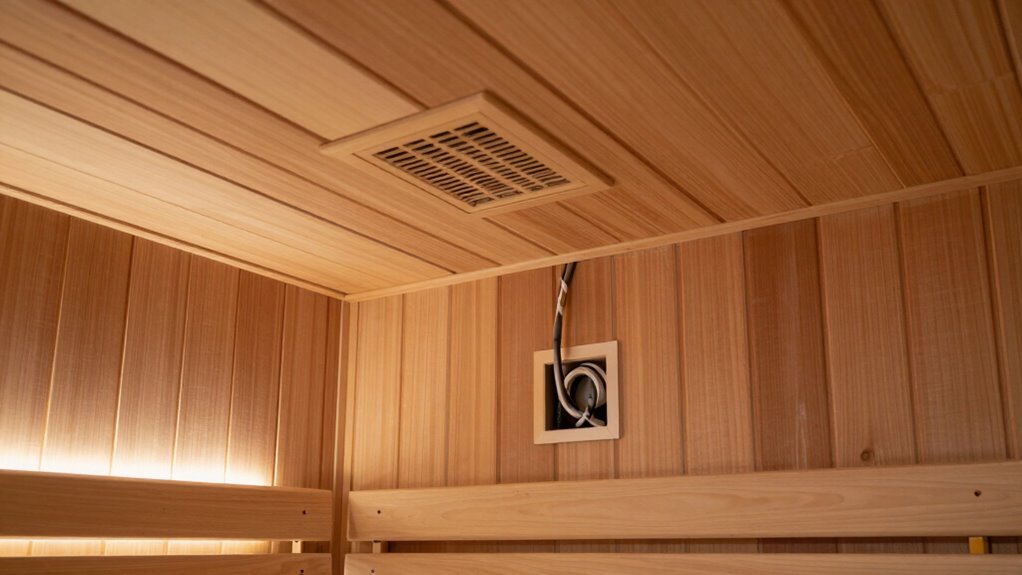
Confirm Power Source Access
Verifying that your sauna has proper access to a reliable power source is a crucial step before installation or use. Ensure the electrical outlet is conveniently located and meets the sauna’s power requirements. Check the wiring and circuit capacity to support the heating system and lighting design, preventing overloads. This step also allows you to plan how the interior decor will be illuminated, creating a relaxing ambiance. Confirm that the power source is grounded correctly for safety. If you’re considering custom lighting or specific interior finishes, verify that the electrical setup can accommodate these features without rewiring later. Proper power access guarantees your sauna functions safely and enhances its aesthetic appeal, making the entire experience more enjoyable.
Test System Compatibility
To confirm your sauna’s system compatibility, start by testing both the ventilation and power access to guarantee they work seamlessly together. Proper testing assures your thermal insulation performs effectively and that your interior design remains functional and comfortable. First, check that the ventilation system provides adequate airflow without leaks or blockages. Then, verify the electrical connections supply consistent power to the heater and lighting, avoiding overloads. Consider how these systems integrate into your sauna’s layout, ensuring easy access for maintenance. Finally, simulate typical usage to identify any issues before final installation.
- Ensure ventilation vents are unobstructed and properly sealed
- Confirm power outlets are grounded and capable of handling load
- Test system operation under normal conditions to prevent future disruptions
Frequently Asked Questions
How Does Poor Ventilation Affect Sauna Energy Efficiency?
Poor ventilation hampers airflow optimization, making it harder for your sauna to heat evenly and efficiently. Without proper ventilation design, heat escapes more easily, leading to increased energy consumption as the heater works harder. This results in higher utility bills and less effective sauna sessions. To maximize energy efficiency, guarantee your sauna has well-planned ventilation that promotes consistent airflow and temperature regulation.
What Safety Measures Should Be Taken During Sauna Electrical Wiring?
Don’t put all your eggs in one basket when it comes to sauna electrical wiring. Follow strict wiring regulations and prioritize electrical safety by hiring a licensed electrician. Confirm proper grounding, use waterproof and insulated cables, and install appropriate circuit breakers to prevent overloads. Keep wiring away from water sources and heat zones. These steps help avoid hazards and ensure your sauna remains a safe, relaxing retreat, not a danger zone.
Can Outdoor Placement Impact Sauna Durability and Ventilation?
Outdoor placement can impact your sauna’s durability and ventilation if you don’t prioritize weather protection. Exposure to rain, snow, and sun can cause wood to warp or rot, reducing lifespan. Poor ventilation may lead to moisture buildup, risking mold and structural damage. To avoid this, guarantee your sauna is well-protected with weather-resistant materials and proper ventilation design, so it stays durable and comfortable regardless of outdoor conditions.
How Often Should Sauna Ventilation Systems Be Inspected?
You should inspect your sauna ventilation systems at least twice a year. Studies show that regular ventilation maintenance can extend the lifespan of your sauna by up to 25%. During inspections, check for blockages, leaks, and proper airflow. Consistent inspection frequency helps prevent mold, odors, and equipment failure. By staying proactive, you guarantee ideal ventilation, safety, and comfort every time you use your sauna.
What Are the Signs of Inadequate Power Supply in a Sauna?
If you notice frequent tripping of circuit breakers or dimming lights when using your sauna, it’s a sign of inadequate power supply. Electrical hazards and power overloads can occur if the circuit isn’t rated properly. You might also experience slow heating or inconsistent temperature control. These signs indicate you should have an electrician assess your wiring and power capacity to prevent potential hazards and guarantee safe, reliable sauna operation.
Conclusion
Ensuring your sauna is properly placed is like laying a strong foundation for a house—you set the stage for safety and durability. Avoid common mistakes with ventilation and power access, and take the time to verify everything before building. When you plan carefully, your sauna will run smoothly and last longer, much like a well-tended garden that blooms year after year. Pay attention now, and enjoy a safe, relaxing retreat for years to come.