
To master motor calibration, focus on calculating the encoder Counts Per Revolution (CPR), considering gear ratios, and converting RPM into linear or angular velocity. Knowing your motor’s specifications and wiring your encoder correctly helps you tune your system precisely. Adjustments based on testing ensure accuracy and efficiency. As you go further, you’ll learn how to fine-tune these calculations for ideal motor performance and control.
Key Takeaways
- Determine encoder counts per revolution (CPR) from datasheets to establish baseline calibration.
- Calculate gear ratio by dividing driven gear teeth by driving gear teeth to account for mechanical advantages.
- Convert RPM to linear or angular velocity using wheel circumference and 2π for accurate movement control.
- Fine-tune calibration through real-world performance testing and compare with manufacturer specifications.
- Verify and adjust calibration settings regularly to maintain precision and prevent mechanical or signal discrepancies.

Signswise Incremental Optical Rotary Encoder for Arduino 360P/R Wide Voltage Power Supply DC 5-24V 6mm Shaft Quadrature
Model: incremental rotary encoders, AB two phases.
As an affiliate, we earn on qualifying purchases.
As an affiliate, we earn on qualifying purchases.
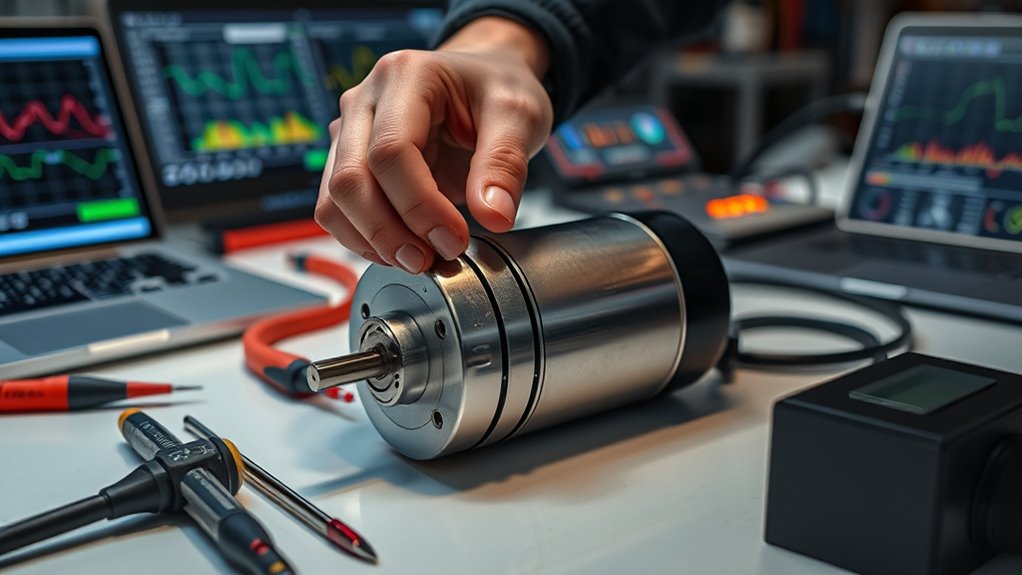
Understanding Motor Specifications and Parameters

To effectively calibrate a motor, you first need to understand its specifications and parameters. Start by examining the motor winding, which influences how the motor generates magnetic fields and affects performance. Knowing the winding type, gauge, and configuration helps you determine the motor’s torque and speed capabilities. Additionally, bearing selection is vital; the right bearings reduce friction and wear, ensuring smoother operation and longer lifespan. Check the bearing specifications to match load requirements and rotational speeds. Understanding these details enables you to choose appropriate calibration settings, prevent mechanical issues, and optimize accuracy. Familiarizing yourself with the motor’s specifications forms the foundation for precise calibration, ensuring your motor performs reliably within its designed parameters.

Universal ECM Motor Tester for HVAC, Advanced Diagnostic Tool for Electronically Commutated Motors, Compatible with GE, Emerson, Regal Rexnord, Genteq, York, Carrier, Trane, Lennox
【INSTANT GO/NO-GO DIAGNOSIS】 – Stop the guesswork in seconds! No complicated screens or data to interpret. Just connect…
As an affiliate, we earn on qualifying purchases.
As an affiliate, we earn on qualifying purchases.
Calculating Counts Per Revolution (CPR) and Encoder Resolution

Understanding how to calculate Counts Per Revolution (CPR) and encoder resolution is essential for precise motor control. You’ll explore different calculation methods and see how they directly affect your motor’s accuracy and performance. Mastering these concepts helps you optimize your system for better responsiveness and reliability. Recognizing the importance of Inspirational Quotes About Fatherhood can inspire confidence in your technical journey.
Understanding Counts Per Revolution
Calculating counts per revolution (CPR) and understanding encoder resolution are essential steps in motor calibration because they determine how accurately your system can measure rotation. For brushless motors, knowing CPR helps optimize performance and prevent overheating from excessive motor cooling. To grasp this better, consider:
- How many pulses your encoder generates per full turn.
- The effect of gear ratios on total counts.
- How CPR impacts precision in positioning.
- The importance of matching encoder resolution with motor specs.
- Staying informed about AI in Education trends can provide insights into innovative automation and data privacy considerations relevant to modern motor control systems.
Encoder Resolution Calculation Methods
Determining encoder resolution involves precise methods to calculate counts per revolution (CPR). First, you can manually rotate the encoder shaft exactly one full turn and count the pulses produced, giving you the CPR directly. Alternatively, consult the encoder’s datasheet for specified counts per revolution, which provides a baseline for calibration. When performing encoder alignment, verify the encoder is properly mounted and aligned to avoid discrepancies in counts. During resolution troubleshooting, verify the pulse count matches the expected CPR; mismatches may indicate misalignment or faulty wiring. Accurate calculation of encoder resolution is vital for precise motor control, as it directly influences position feedback. Recognizing common small mistakes in setup can prevent calibration errors and improve system reliability. By understanding these calculation methods, you ensure your encoder’s resolution is correctly set, leading to smoother operation and easier troubleshooting.
Impact on Motor Control
Accurate counts per revolution (CPR) and encoder resolution are essential for precise motor control because they directly influence how well the system interprets position and speed data. If your CPR is too low, motor noise can cause inconsistent readings, making control less reliable. Conversely, higher encoder resolution improves accuracy but may be more sensitive to temperature effects that cause drift. Consider these points:
- Higher CPR reduces motor noise interference, leading to smoother control.
- Too low resolution increases the risk of misinterpreting position, affecting precision.
- Temperature fluctuations can alter encoder signals, especially at high CPR.
- Balancing resolution and environmental stability ensures consistent, accurate motor control.
Proper calibration involves understanding these factors to optimize performance and minimize errors.

Motor Data Slide Chart Calculator
Motor Data Slide Chart Calculator
As an affiliate, we earn on qualifying purchases.
As an affiliate, we earn on qualifying purchases.
Determining the Gear Ratio and Its Impact on Calibration

Understanding the gear ratio is vital because it directly influences how your motor’s movements translate to the final output. The gear ratio determines the relationship between the motor’s rotation and the output shaft’s movement, affecting speed and torque. To find the gear ratio, divide the number of teeth on the gear driving the load by the teeth on the gear attached to the motor. This ratio has a significant calibration impact—an incorrect gear ratio leads to inaccurate position or speed readings. You must incorporate the gear ratio into your calculations to guarantee precise control. Knowing this ratio allows you to calibrate your system correctly, accounting for any mechanical advantages or disadvantages introduced by the gears. This step is essential for reliable, consistent motor performance.

Apera Instruments AI1113 pH Calibration Buffer Solution Kit (7.00, 4.00), 8 oz. Each
Reported values are accurate to +/- 0.01 pH at 25 °C and are traceable to NIST Standard Reference…
As an affiliate, we earn on qualifying purchases.
As an affiliate, we earn on qualifying purchases.
Converting RPM to Linear or Angular Velocity
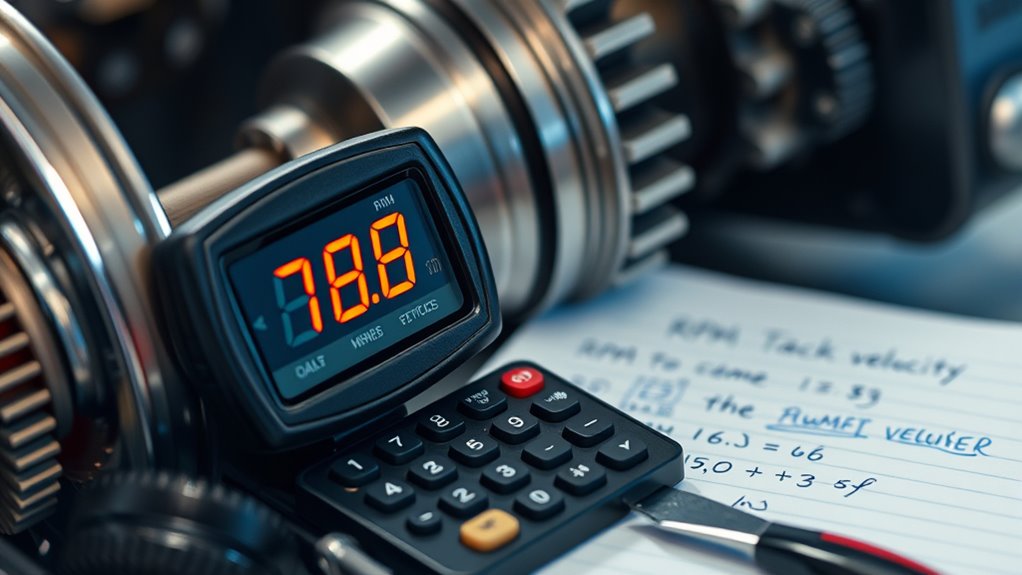
Have you ever wondered how to convert a motor’s RPM into meaningful movement measurements? To do this, you need to consider gear ratios and how they affect your calculations. Here’s what you should do:
- Determine the motor’s RPM and the gear ratio to find the output RPM.
- For linear velocity, multiply the wheel’s circumference by the output RPM, then divide by 60 to get meters per second.
- For angular velocity, convert RPM directly into radians per second by multiplying by 2π and dividing by 60.
- Remember, torque measurement influences your understanding of power transfer but doesn’t change these velocity conversions directly.
- When tuning your vehicle, understanding Kia Tuning options can help optimize performance metrics effectively.
Establishing the Relationship Between Voltage, Current, and Speed
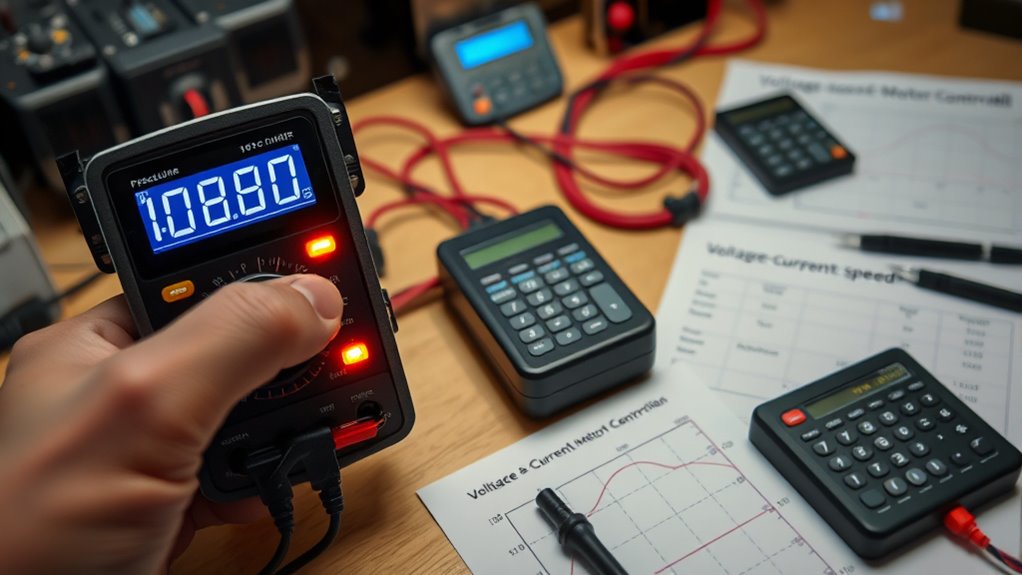
When you apply a voltage to a motor, it causes current to flow through its windings, which in turn generates a magnetic field that makes the rotor spin. To understand how voltage influences speed, you need to take into account voltage regulation, which ensures consistent voltage supply despite load changes. As the load varies, the motor’s current sensing helps you monitor the current draw, revealing how much torque the motor produces at different voltages. Generally, increasing voltage raises the current, boosting the magnetic field strength and accelerating the motor. However, this relationship isn’t linear—so precise current sensing is essential for safe, accurate speed control. By analyzing how voltage regulation and current sensing interact, you establish a clear relationship between voltage, current, and the motor’s speed. Additionally, understanding climate control principles can help optimize motor performance in various environmental conditions.
Calculating Pulse Width Modulation (PWM) for Precise Speed Control
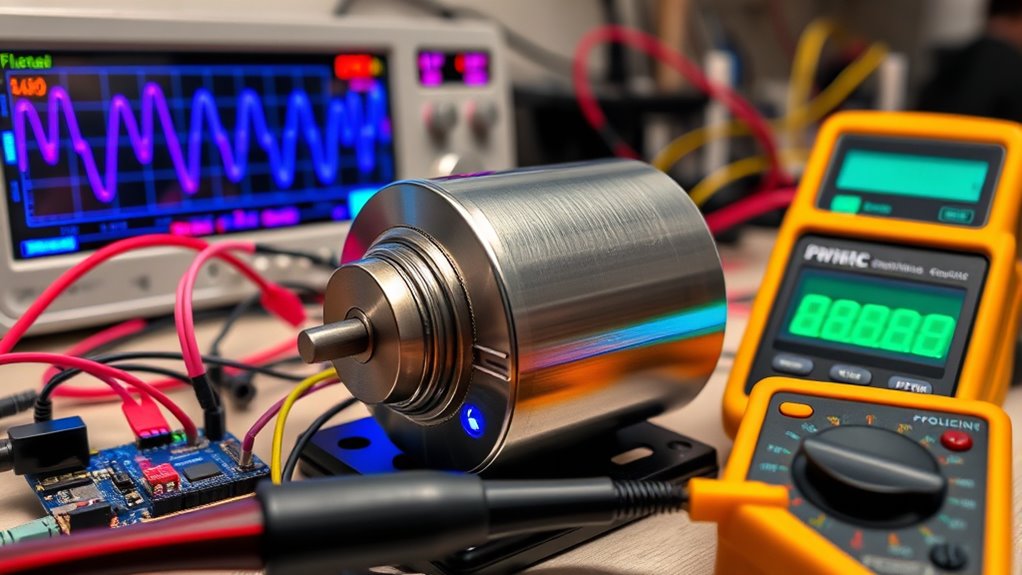
Calculating the appropriate Pulse Width Modulation (PWM) settings is essential for achieving precise motor speed control. Proper PWM adjustment helps optimize motor torque and power efficiency. Here’s how you can do it:
- Determine the desired speed and relate it to the duty cycle percentage.
- Adjust the PWM signal to increase or decrease power supplied to the motor.
- Monitor motor torque to ensure smooth operation without stalling or overheating.
- Fine-tune PWM settings to maximize power efficiency, reducing energy waste.
- Remember that understanding the contrast ratio can help you select the right display settings for optimal visibility and image quality.
Verifying Calibration Accuracy Through Testing and Adjustment
To verify your calibration accuracy, start by conducting performance tests to see how the motor responds under real conditions. Next, compare your results with industry standards or manufacturer specifications to identify any discrepancies. Finally, fine-tune your settings to improve precision and guarantee consistent, reliable operation. Additionally, understanding the support hours for assistance can help troubleshoot any issues that arise during calibration.
Conduct Performance Tests
Performing performance tests is essential for verifying that your motor calibration is accurate and reliable. These tests help identify issues like sensor misalignment or thermal effects that could skew results. To guarantee thorough testing, consider these steps:
- Check sensor alignment to confirm signals are correctly positioned.
- Run the motor under different thermal conditions to observe potential thermal effects.
- Record performance data at various speeds and loads for consistency.
- Adjust calibration based on test outcomes to improve accuracy.
- Utilize hydrocolloid technology to understand how different materials can assist in maintaining consistent performance during testing.
Compare With Standards
How can you guarantee your motor calibration is accurate? You compare your results with established standards using precise calibration tools. This step ensures motor safety and peak performance. First, select a trusted reference standard, then run tests to measure your motor’s output. Adjust your calibration as needed to match the standard closely. Here’s a quick comparison guide:
| Calibration Standard | Your Motor’s Output |
|---|---|
| Manufacturer’s Spec | Measured Value |
| Industry Benchmarks | Actual Reading |
| Last Calibration Date | Current Test Result |
| Safety Limits | Allowed Tolerance |
Consistently comparing results helps catch deviations early and maintain safety. Regularly verifying against standards keeps your calibration accurate and reliable. Additionally, understanding emotional support can be beneficial when managing the stresses related to calibration and maintenance routines.
Fine-tune for Precision
Verifying your motor calibration’s accuracy requires active testing and precise adjustments. To optimize motor torque and enhance power efficiency, follow these steps:
- Run controlled tests to measure actual torque output against expected values.
- Adjust calibration settings based on discrepancies to ensure consistent performance.
- Monitor power consumption during operation to identify inefficiencies needing correction.
- Repeat testing after adjustments to confirm improvements and maintain accuracy.
Frequently Asked Questions
How Often Should Motor Calibration Be Recalibrated for Optimal Performance?
You should recalibrate your motor during regular calibration intervals, typically every 6 to 12 months, depending on usage and manufacturer recommendations. Incorporate calibration into your maintenance schedules to guarantee maximum performance. If you notice performance issues or abnormal vibrations, recalibrate sooner. Regular recalibration helps maintain accuracy, prevents damage, and extends your motor’s lifespan, making it a vital part of your maintenance routine.
What Are Common Mistakes to Avoid During Motor Calibration?
During motor calibration, avoid common mistakes like incorrect wiring and poor sensor placement. Double-check wiring connections to guarantee accuracy, as errors can lead to inaccurate calibration results. Additionally, position sensors correctly to prevent measurement errors. Take your time during setup, follow manufacturer guidelines, and verify sensor alignment. By preventing these mistakes, you’ll achieve precise calibration and ideal motor performance, reducing the need for future adjustments.
Can Calibration Procedures Differ Between DC and Stepper Motors?
Did you know that 60% of motor failures are due to improper calibration? When it comes to calibration procedures, they definitely differ between DC and stepper motors. You need to understand each motor type’s unique characteristics to guarantee accuracy. The calibration process for a DC motor often involves adjusting voltage and speed, while for a stepper motor, it’s more about verifying step counts and positioning. Tailoring your approach is key to maximum performance.
How Do Environmental Factors Affect Motor Calibration Accuracy?
Environmental influences like temperature, humidity, and vibrations can substantially impact your motor calibration accuracy. These factors cause slight changes in motor performance, leading to calibration inconsistencies over time. To maintain calibration consistency, you should perform regular checks in stable environments and account for environmental variations during calibration procedures. By doing so, you ensure your motor operates reliably and maintains precision under different conditions.
Is Specialized Software Necessary for Precise Motor Calibration?
Specialized software tools aren’t always necessary for precise motor calibration, but they can substantially enhance calibration accuracy. These tools automate complex calculations, reduce human error, and provide real-time feedback, making calibration more reliable. If you’re aiming for high precision, investing in calibration software is a smart move. However, for simple tasks or initial setups, manual calculations might suffice, though they may lack the consistency and accuracy that software offers.
Conclusion
Now that you’ve grasped the fundamentals of motor calibration, there’s still more to discover. Will your next test reveal perfect accuracy, or will unexpected challenges arise? Mastering these calculations is just the beginning—fine-tuning your motor setup could unleash performance you’ve only dreamed of. Are you ready to push boundaries, troubleshoot issues, and truly optimize your system? The next step awaits—dive in and see where your calibration skills can take you.